
Welcome to the third tutorial of Navisworks® API series, this post is to cover a new topic called Navisworks® COM (Component Object Model) Interface & how to add custom property to selected ModelItems. For adding custom property, we will implement a WPF window for user to type-in Category Name, Property Name & Value.
So, what really is Navisworks® COM Interface?
The Navisworks® COM (Component Object Model) Interface allows Navisworks® users a range of possibilities for customizing and extending its functionality. For some functionalities which have not been exposed in .NET API (main/core Navisworks® API), you need COM API. Functions such as: adding custom properties, manipulating object’s hyperlink, Quick properties, Sectioning, Zooming … are currently only available in COM API.
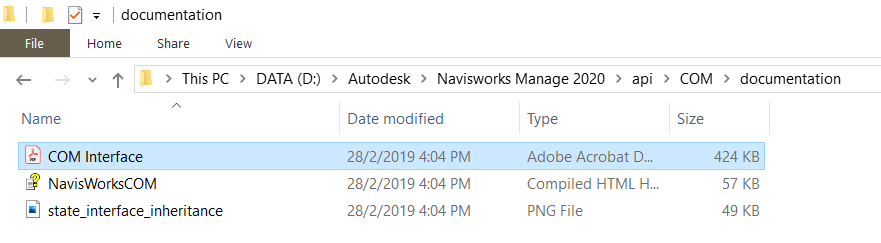
You can find the full COM documentation from your Navisworks installation directory. (figure 1.0) C:\Autodesk\Navisworks Manage 2020\api\COM\documentation
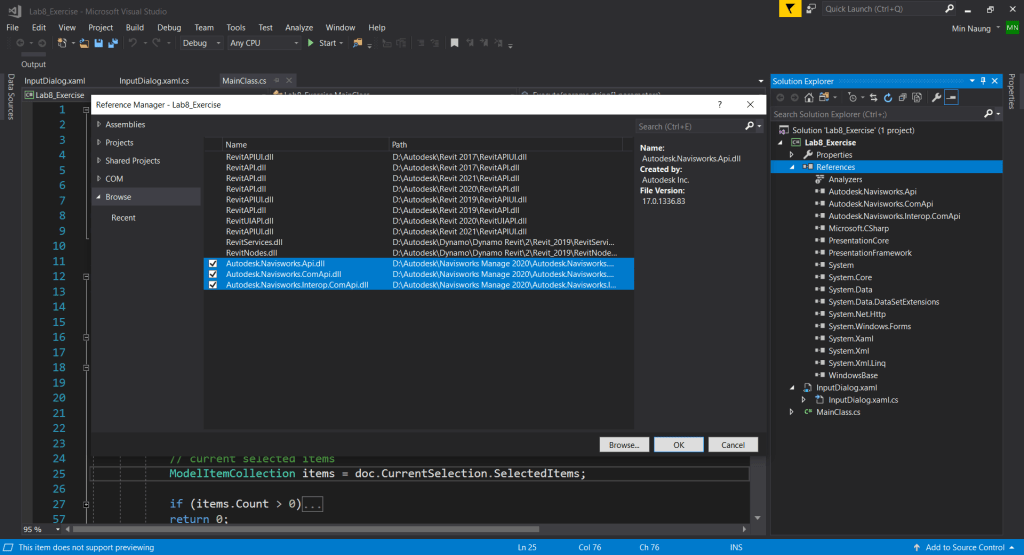
As usual, let’s start our project by setting up Navisworks® Add-Ins project in the visual studio, you can follow Creating Navisworks Add-Ins tutorial to set up the project. Whenever you are ready, add additional references for COM API as shown in figure 1.1.

In the MainClass.Execute method, create the first variable, Document doc, to store the current document & the second variable, InwOpState10 cdoc,which is also the current document object too. ” Document is a .NET API object and InwOpState10 is a COM API object, both objects represent the current document. ” You can find the list : Comparison of Navisworks .NET & COM APIs . Another variable, ModelItemCollection items, to store the current selected ModelItems. (figure 1.2)

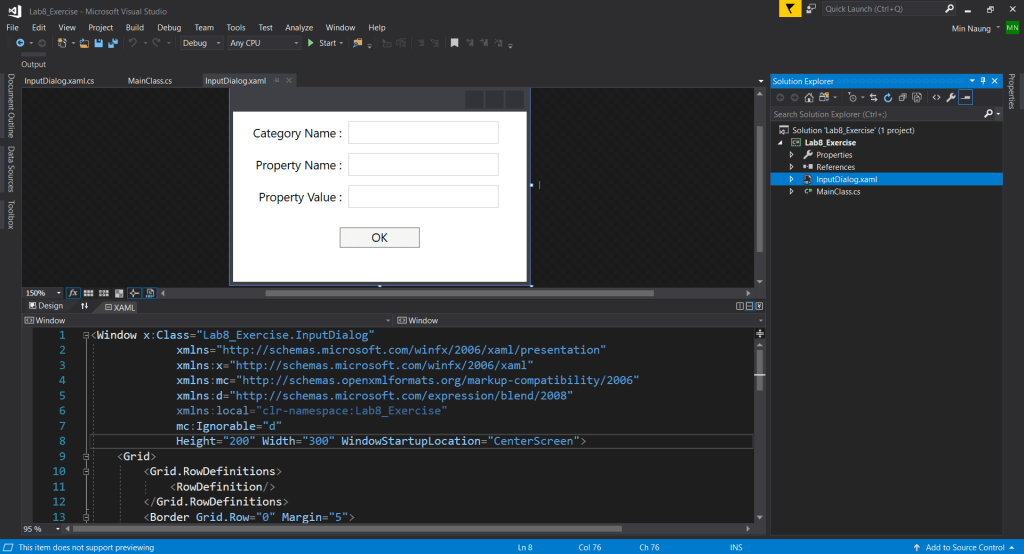
Next step is to create a simple WPF window, "InputDialog.xaml" , for user to type-in Category Name, Property Name & Value (figure 1.3) . To collect these input values we gonna create three properties, CategoryName, PropertyName & PropertyValue in "InputDialog.xaml.cs" and set values from user inputs via OK click event. (figure 1.4)

Continue to MainClass.Execute method, check the selected ModelItems count. Instantiate InputDialog dialog and display it by calling ShowDialog method. Iterate the selected ModelItems, if you go to the Comparison of Navisworks .NET & COM APIs you might find that ModelItem in .NET is the same with Path in COM.
ComApiBridge class holds all the conversions & communications methods between .NET API and COM API. First, convert ModelItem as a COM’s Path object and then get the COM’s PropertyCategoryCollection from Path. (figure 1.5)
// convert ModelItem to COM Path
InwOaPath citem = (InwOaPath)ComApiBridge.ToInwOaPath(item);
// Get item's PropertyCategoryCollection
InwGUIPropertyNode2 cpropcates = (InwGUIPropertyNode2)cdoc.GetGUIPropertyNode(citem, true);
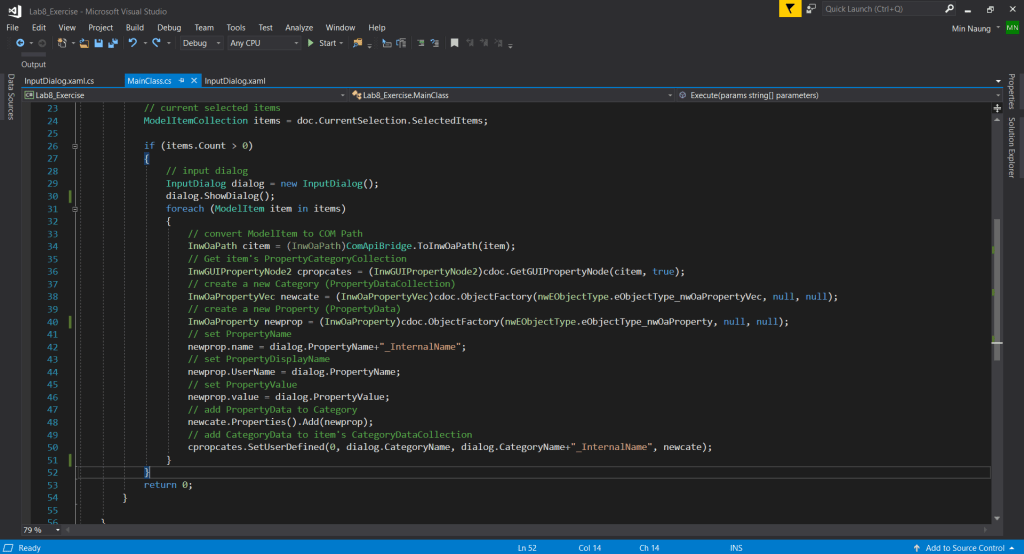
Next, create PropertyDataCollection (PropertyCategory) and Property via COM’s ObjectFactory. (figure 1.5)
// create a new Category (PropertyDataCollection)
InwOaPropertyVec newcate =(InwOaPropertyVec)cdoc.ObjectFactory(nwEObjectType.eObjectType_nwOaPropertyVec, null, null);
// create a new Property (PropertyData)
InwOaProperty newprop = (InwOaProperty)cdoc.ObjectFactory(nwEObjectType.eObjectType_nwOaProperty, null, null);
And set the created Property’s name (Internal Name), UserName (Display Name), value respectively from the user input values. Next add the created Property to the created PropertyCategory. (figure 1.5)
// set PropertyName
newprop.name = dialog.PropertyName+"_InternalName";
// set PropertyDisplayName
newprop.UserName = dialog.PropertyName;
// set PropertyValue
newprop.value = dialog.PropertyValue;
// add PropertyData to Category
newcate.Properties().Add(newprop);
// add CategoryData to item's CategoryDataCollection
cpropcates.SetUserDefined(0, dialog.CategoryName, dialog.CategoryName+"_InternalName", newcate);
Finally, add to COM Path‘s (.NET’s ModelItem) PropertyCategoryCollection, and here we’ve given the index value 0 (zero) for creating a new PropertyCategory, else the existing PropertyCategory will be overwritten.
That’s the end of this tutorial, you can download the complete project source code from here. Cheers!
Additional Resource : Naviswork SDK > Lab_08_COM_Interop

Man, you change everything for me! Thank you for sharing these code samples! Its golden!
LikeLiked by 1 person