
This post is about how you can implement WPF (Windows Presentation Foundation) form in Revit Add-Ins Command or Application. In this sample project we will be creating a simple Revit Add-Ins Command to display all the list of views from the current document in WPF Treeview (see figure 1.0) and I will be using Visual Studio 2017 and Revit 2019.

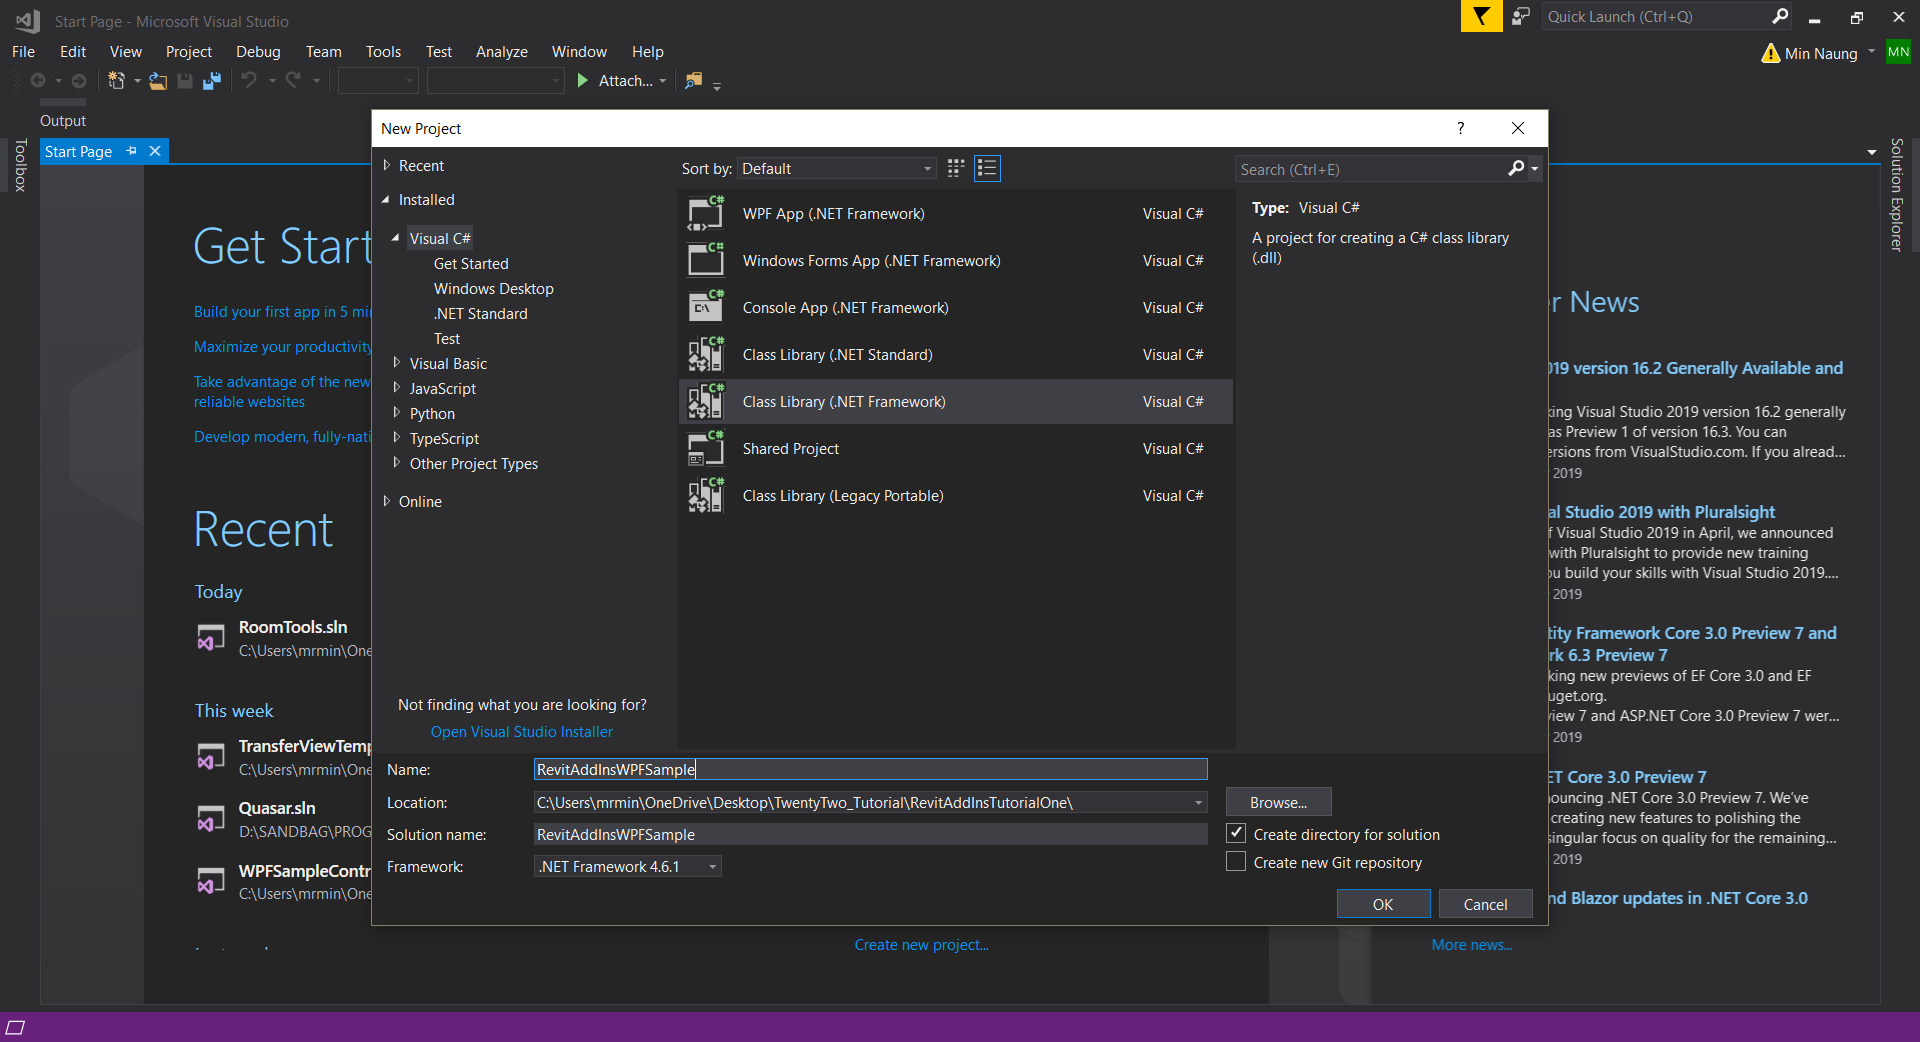
Let’s start our project by launching Visual Studio and create a new project > choose Class Library (.Net Framework) and name it “RevitAddInsWPFSample” (figure 1.1).
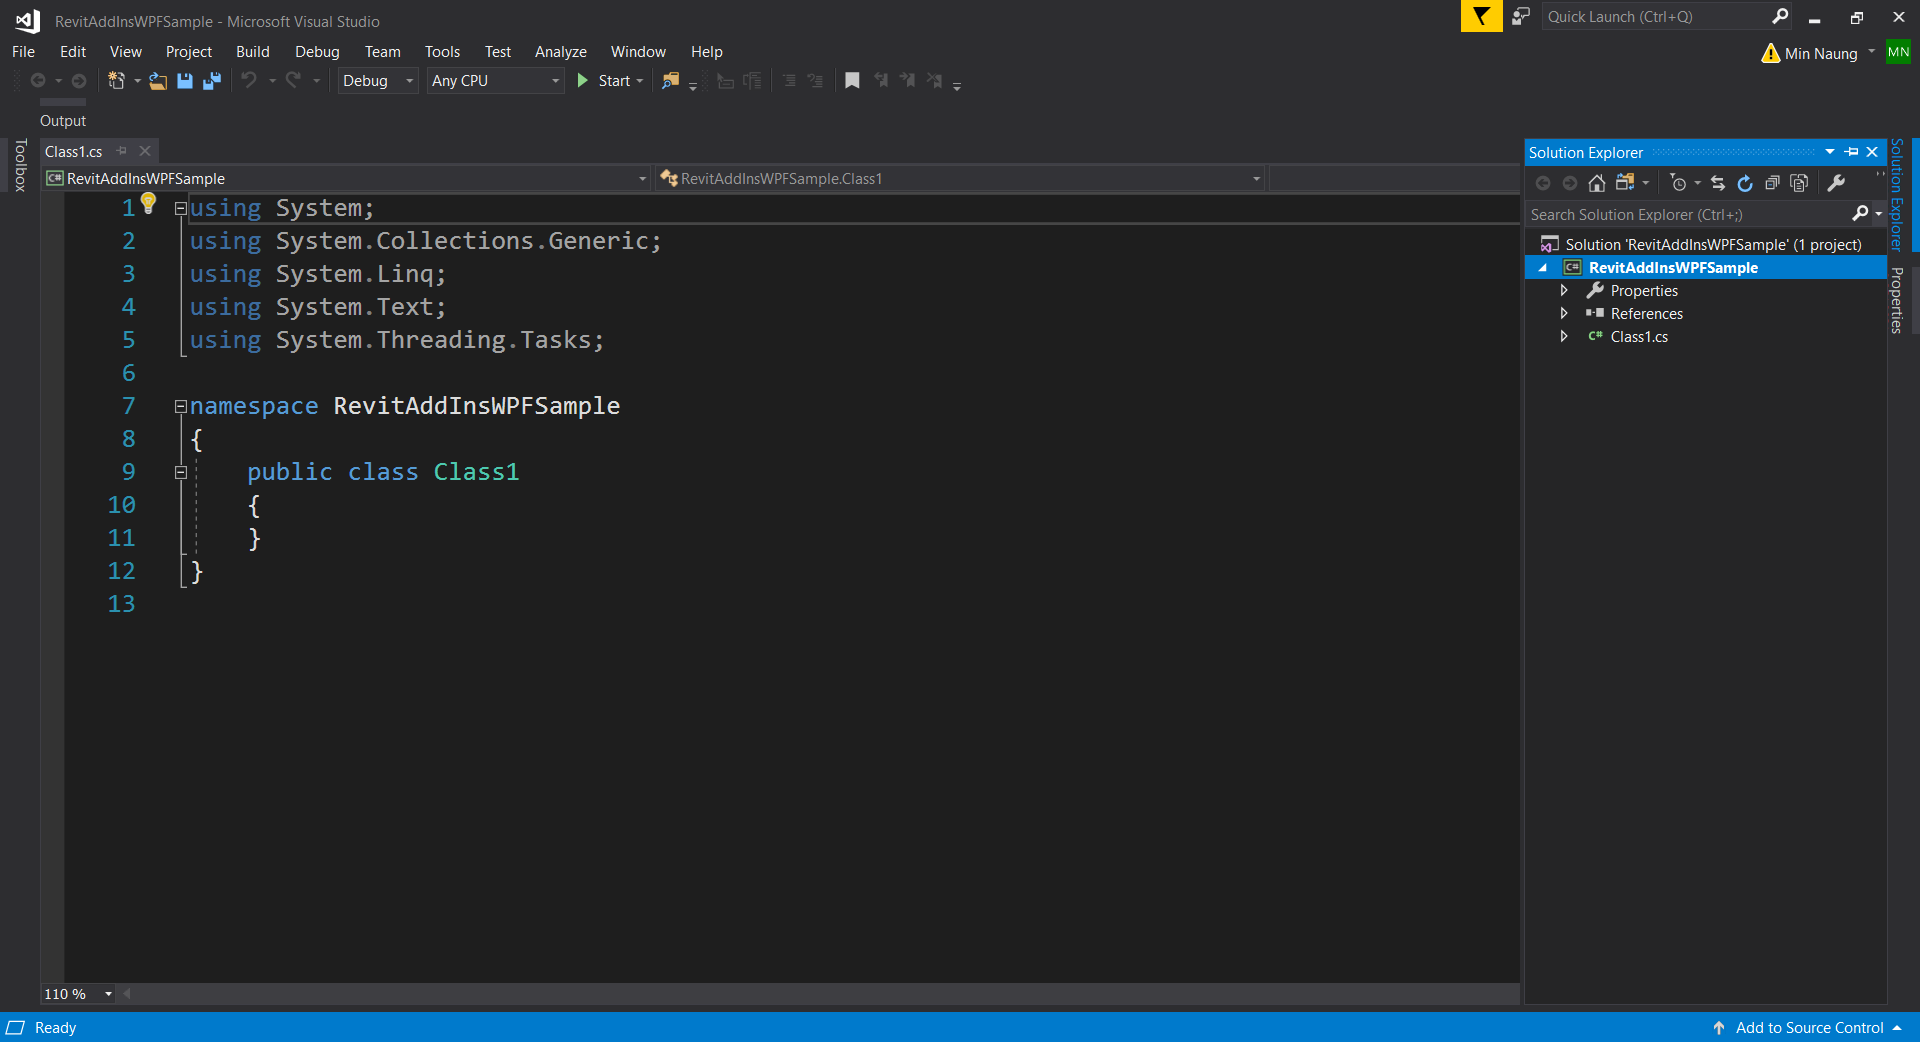
After this, you should be seeing namespace class window as shown in figure 1.2 below.
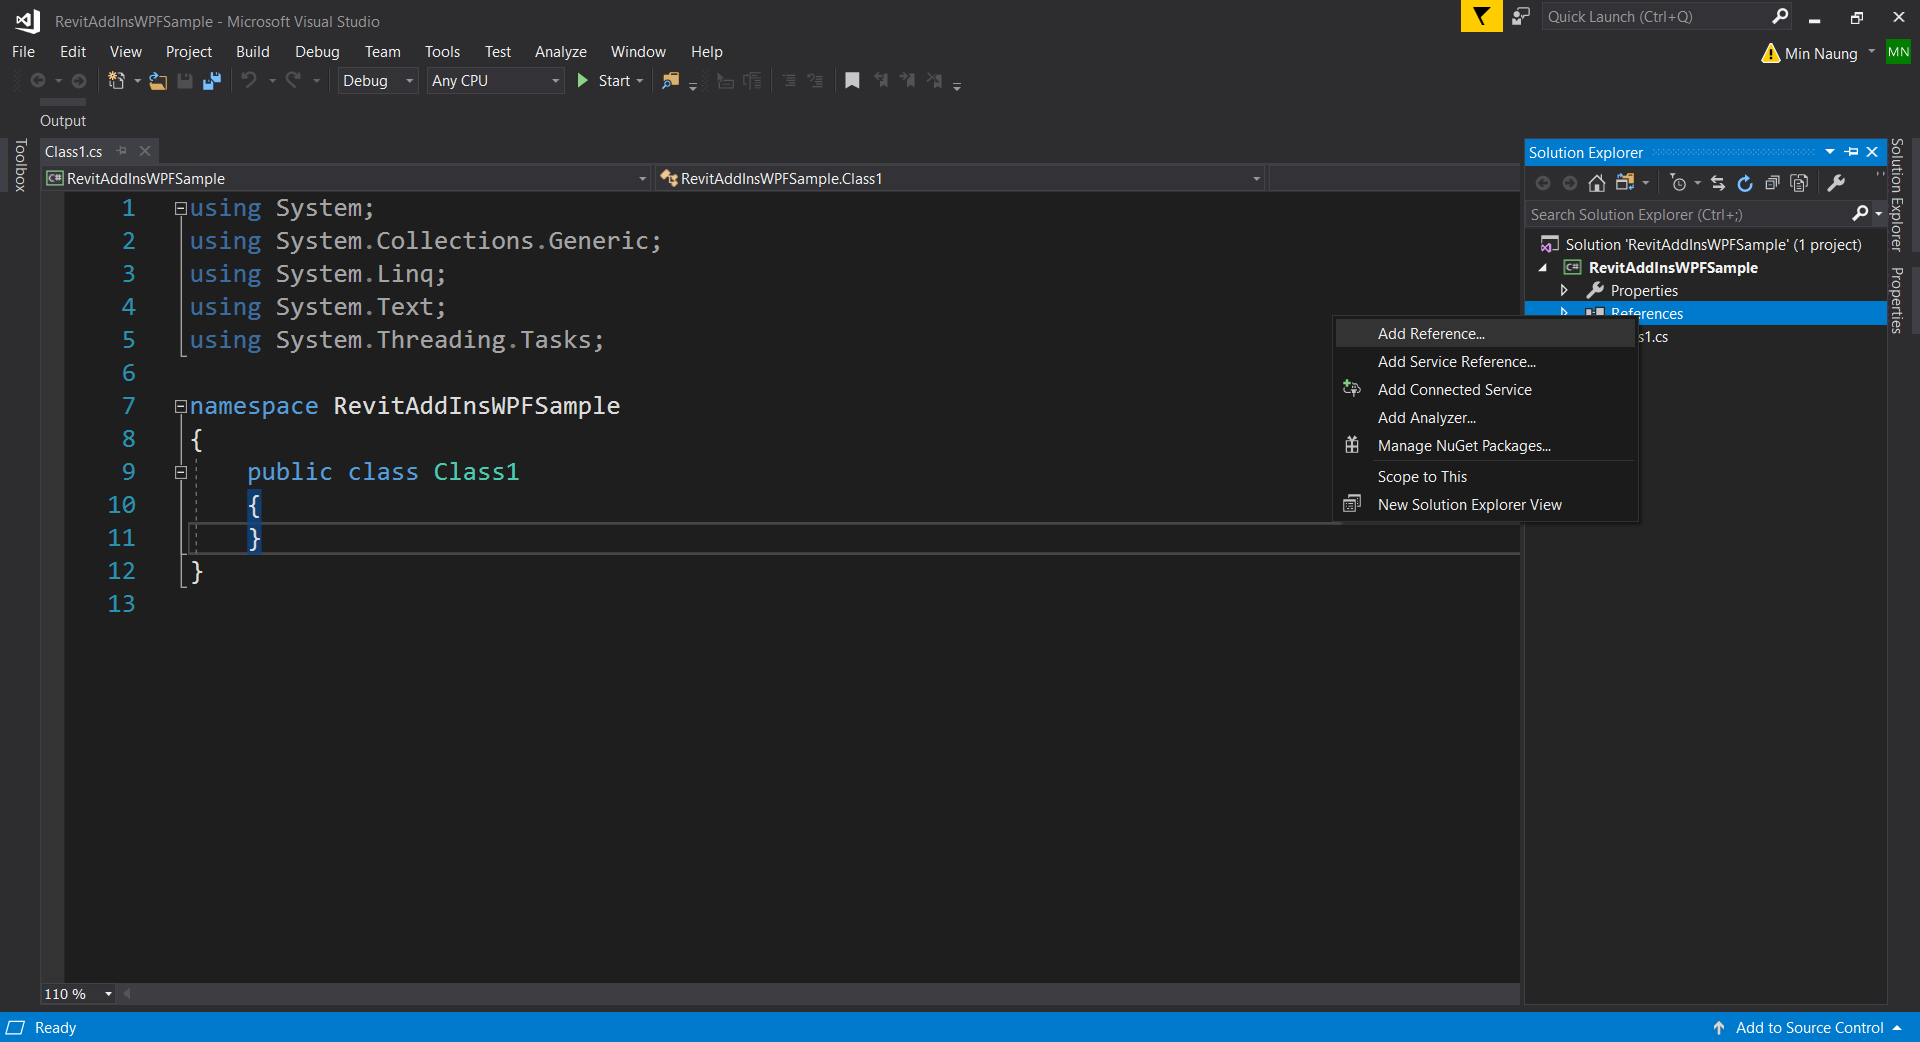
In the Solution Explorer panel, right-click on References and Add Reference. And then, add two Revit API libraries as our project references. (figure 1.3, 1.4)
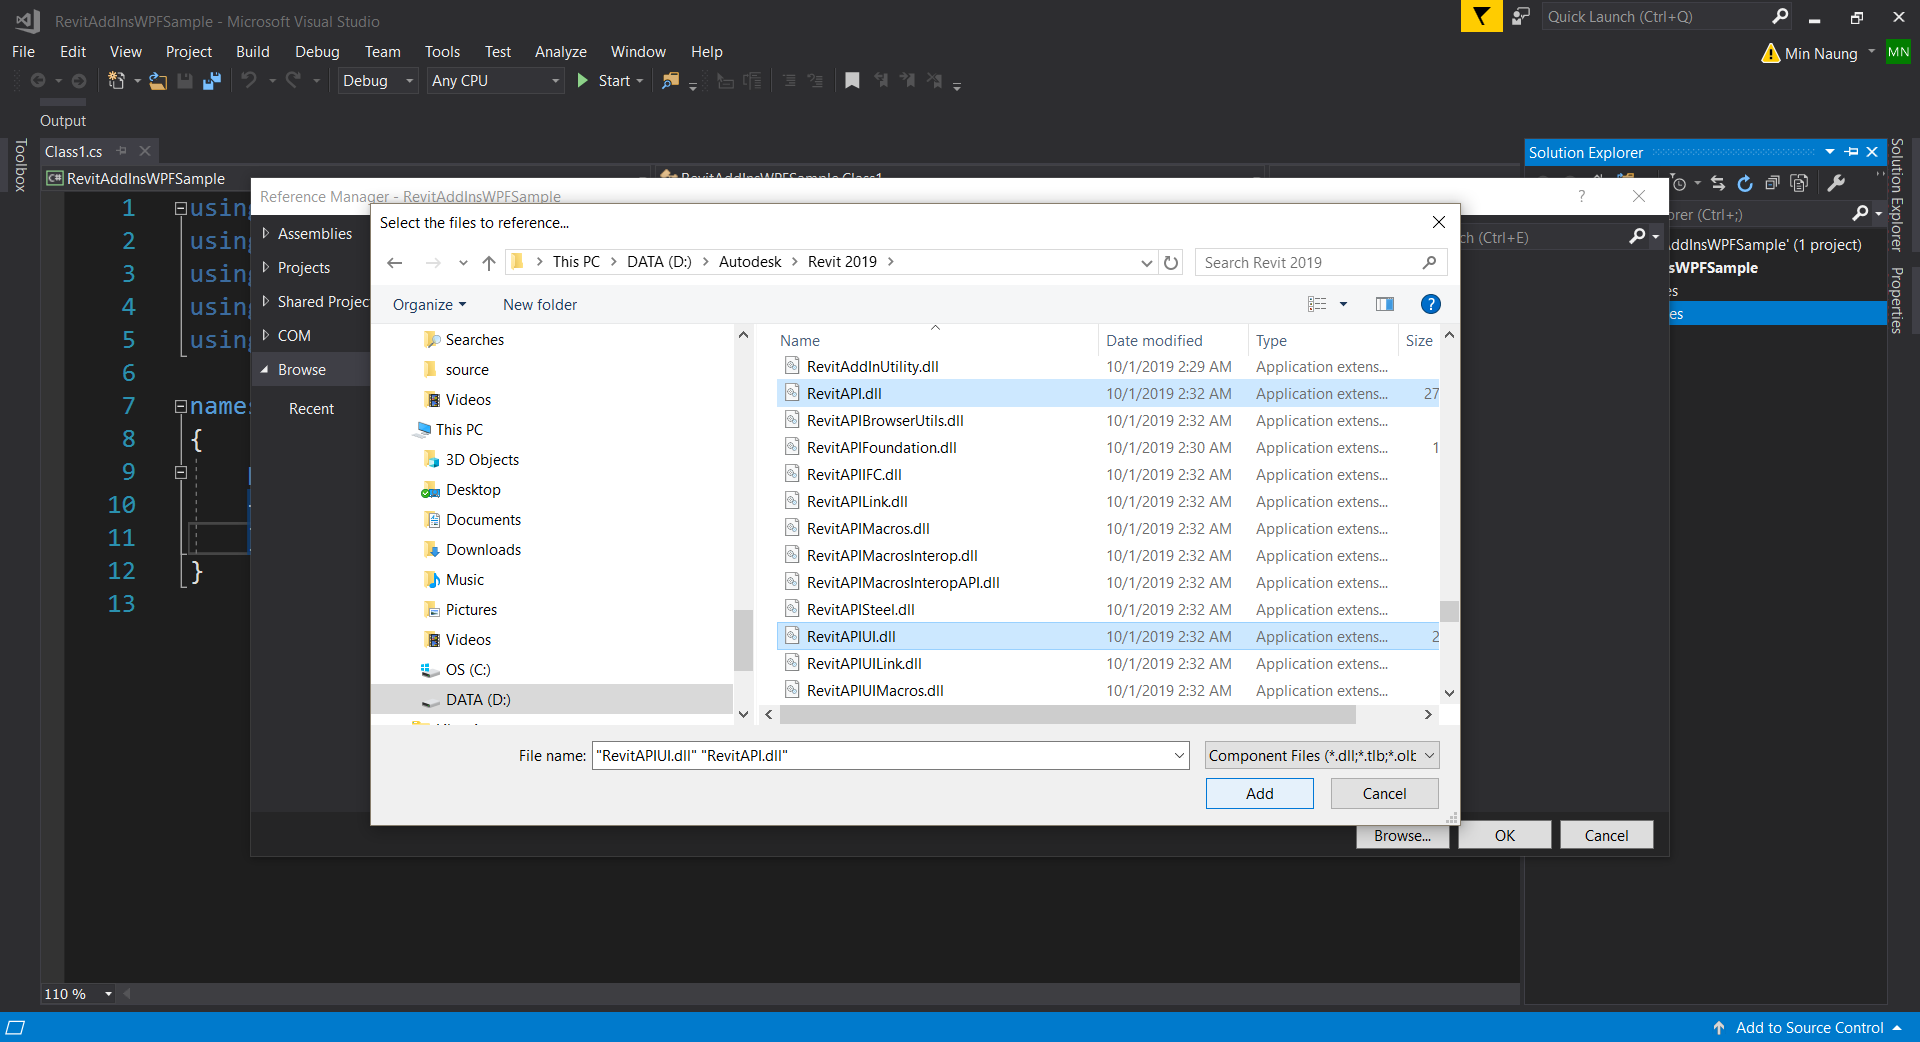
Click “Browse …” button on Reference Manager Window and add these libraries “RevitAPI.dll” and “RevitAPIUI.dll” from Revit Product Installation directory (the default path is C:\Program Files\Autodesk\Revit 201x\*). (figure 1.4)
Select two libraries and right-click go to properties to change local copy value.


Import library assemblies from DB, UI, and Attributes namespaces. And add the Transaction Attribute to declares the way the transaction should work. It could be either Manual or Automatic. (figure 1.5)
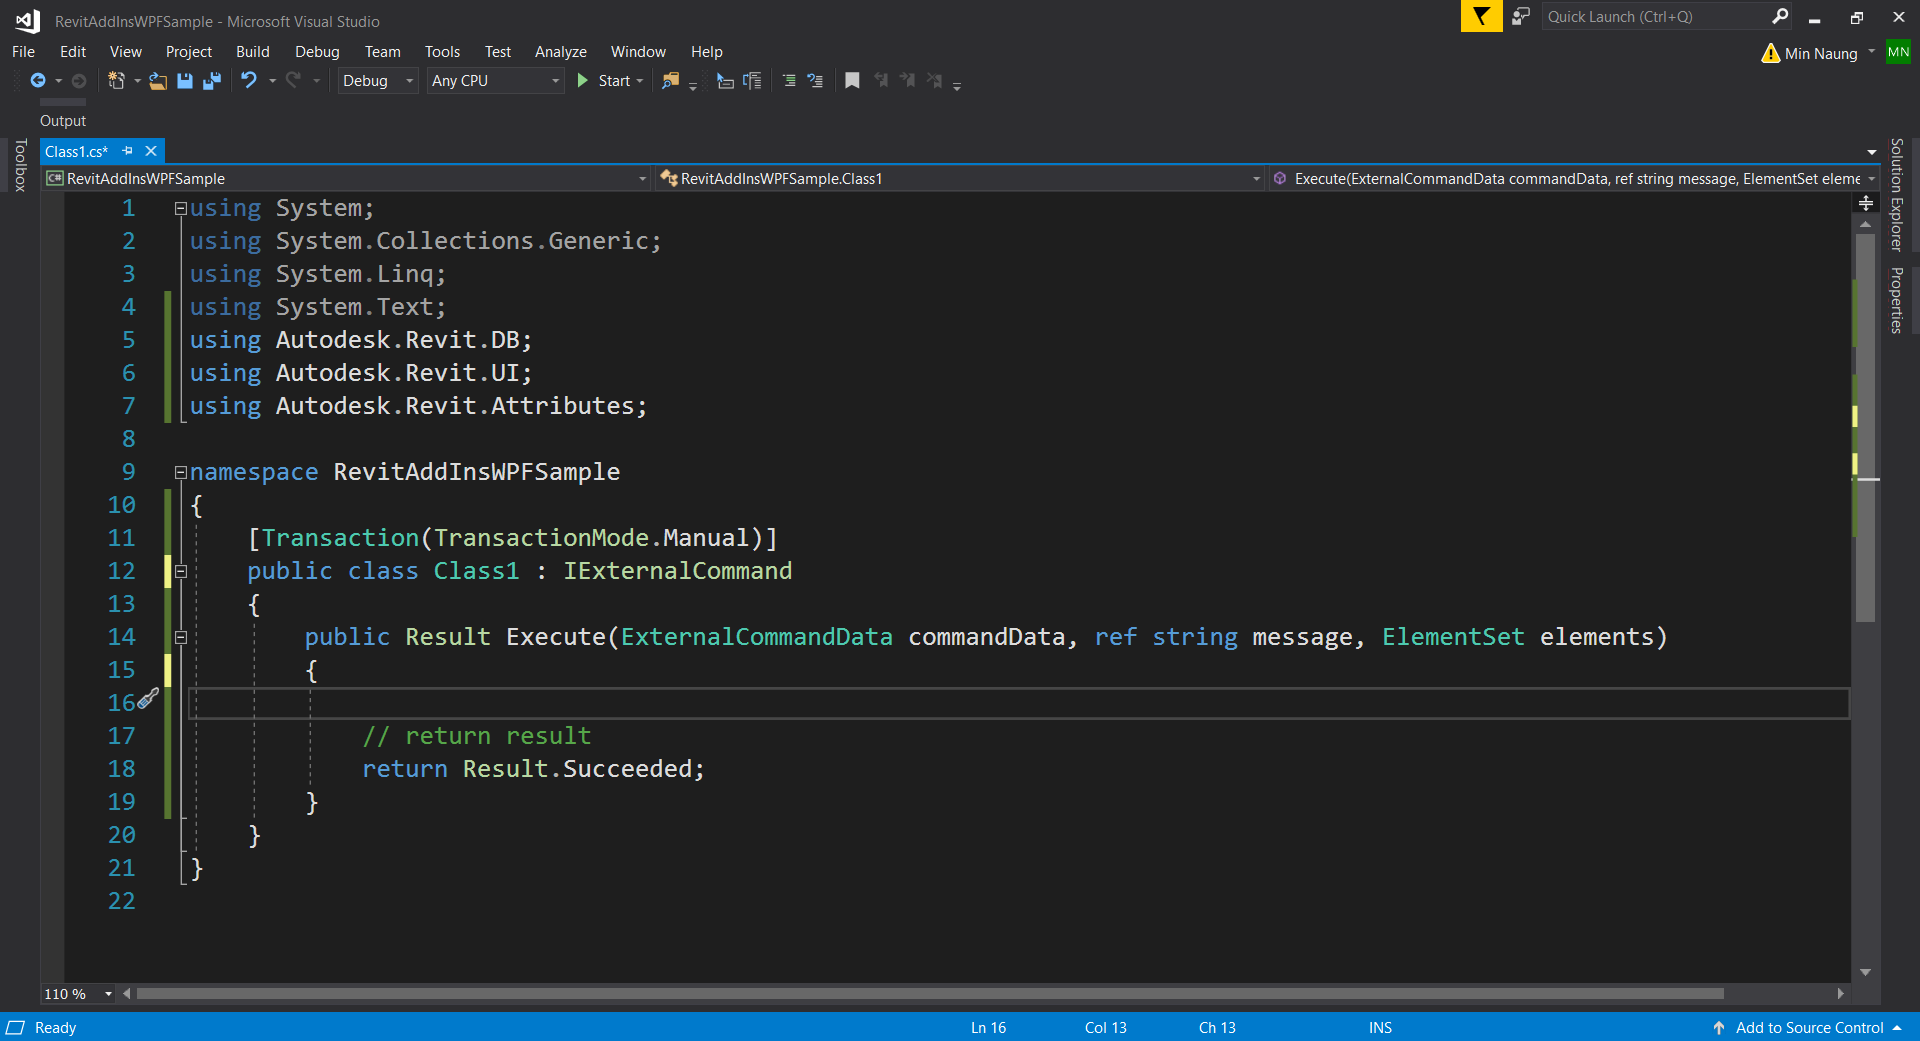
Create an external command by creating an object(our “Class1” class) that implements the IExternalCommand interface. The IExternalCommand interface has one abstract method, Execute, which is the main method for external commands.
The Execute() method has three parameters:
- commandData (ExternalCommandData) – contains references to Application and View which are required by the external command.
- message (String) – error messages are returned by an external command using the output parameter message.
- elements (ElementSet) – any elements are added to the elements parameter, these elements will be highlighted on screen.
namespace RevitAddInsWPFSample
{
    [Transaction(TransactionMode.Manual)]
    public class Class1:IExternalCommand
    {
        public Result Execute(ExternalCommandData commandData, ref string message, ElementSet elements)
        {
            // return result
            return Result.Succeeded;
        }
    }
}
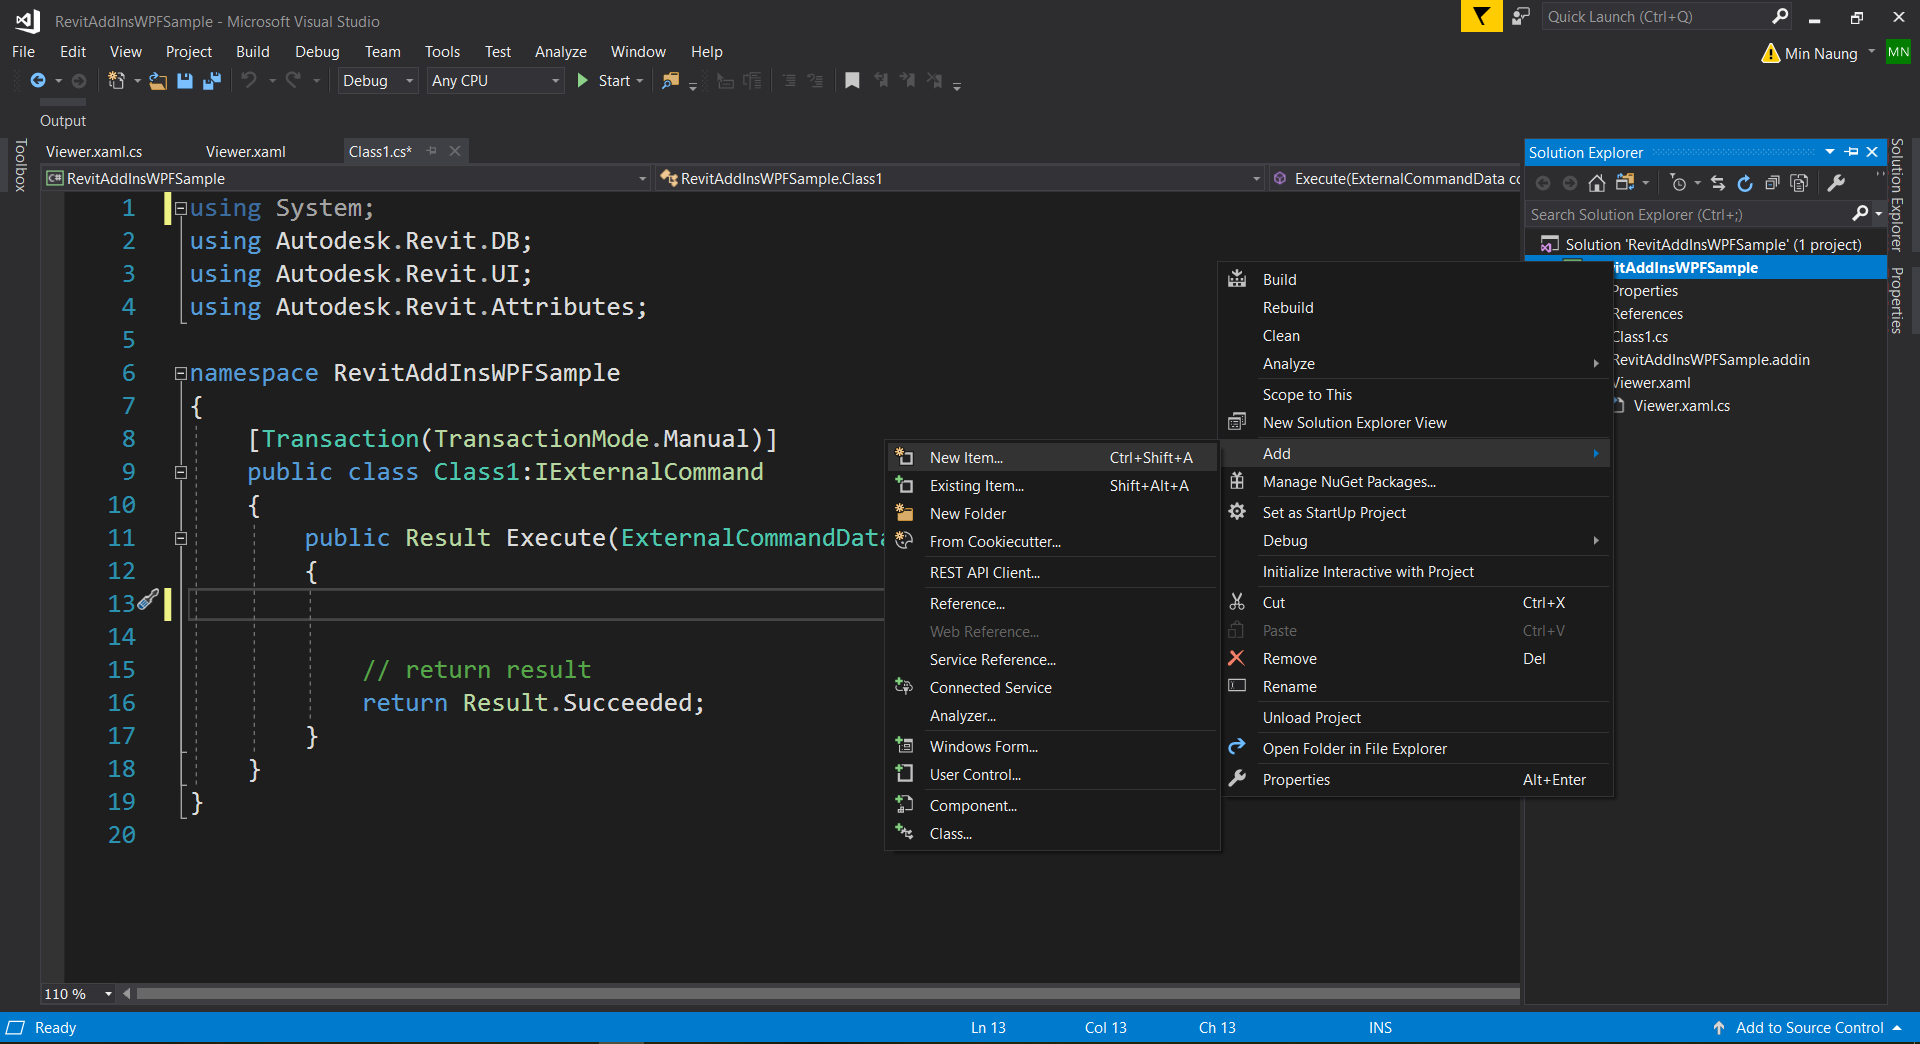
And now we are going to add WPF window. In the Solution Explorer panel, right-click > Add > New Item…
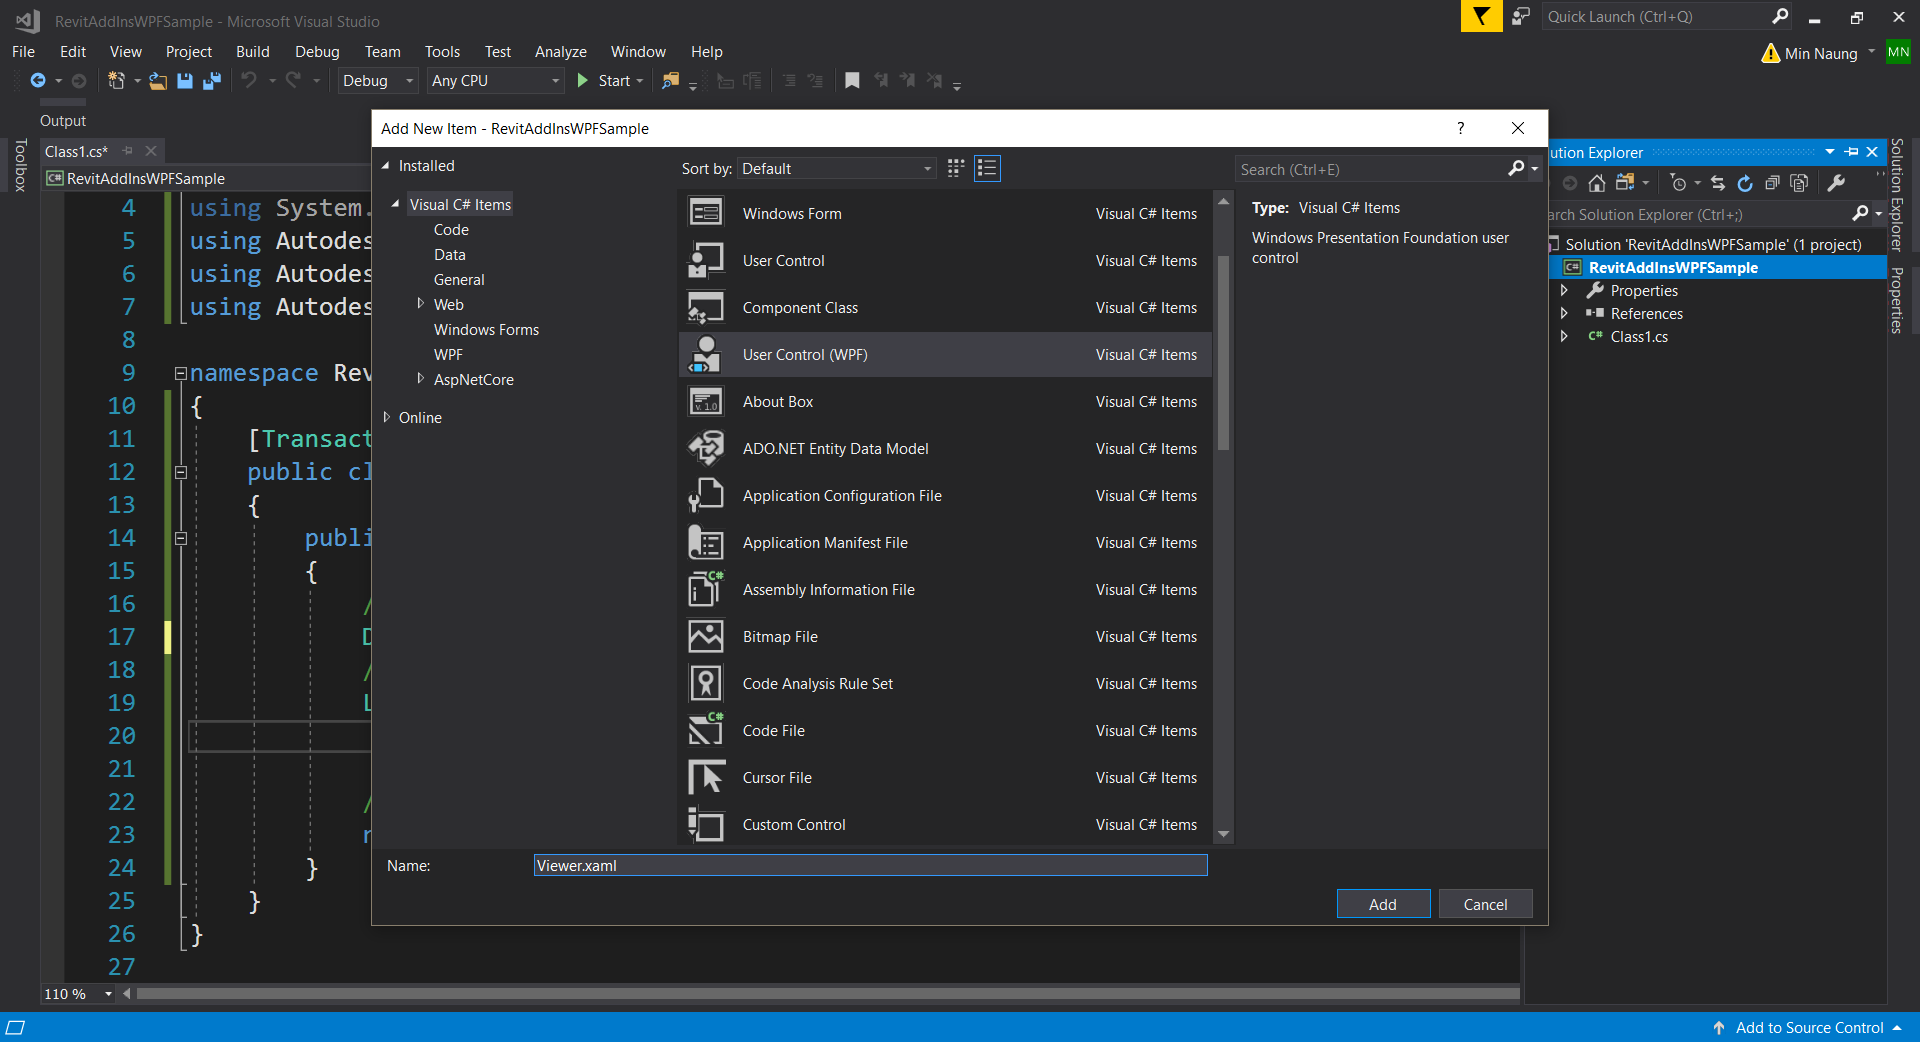
Select User Control (WPF) and name it “Viewer.xaml”. (figure 1.7)
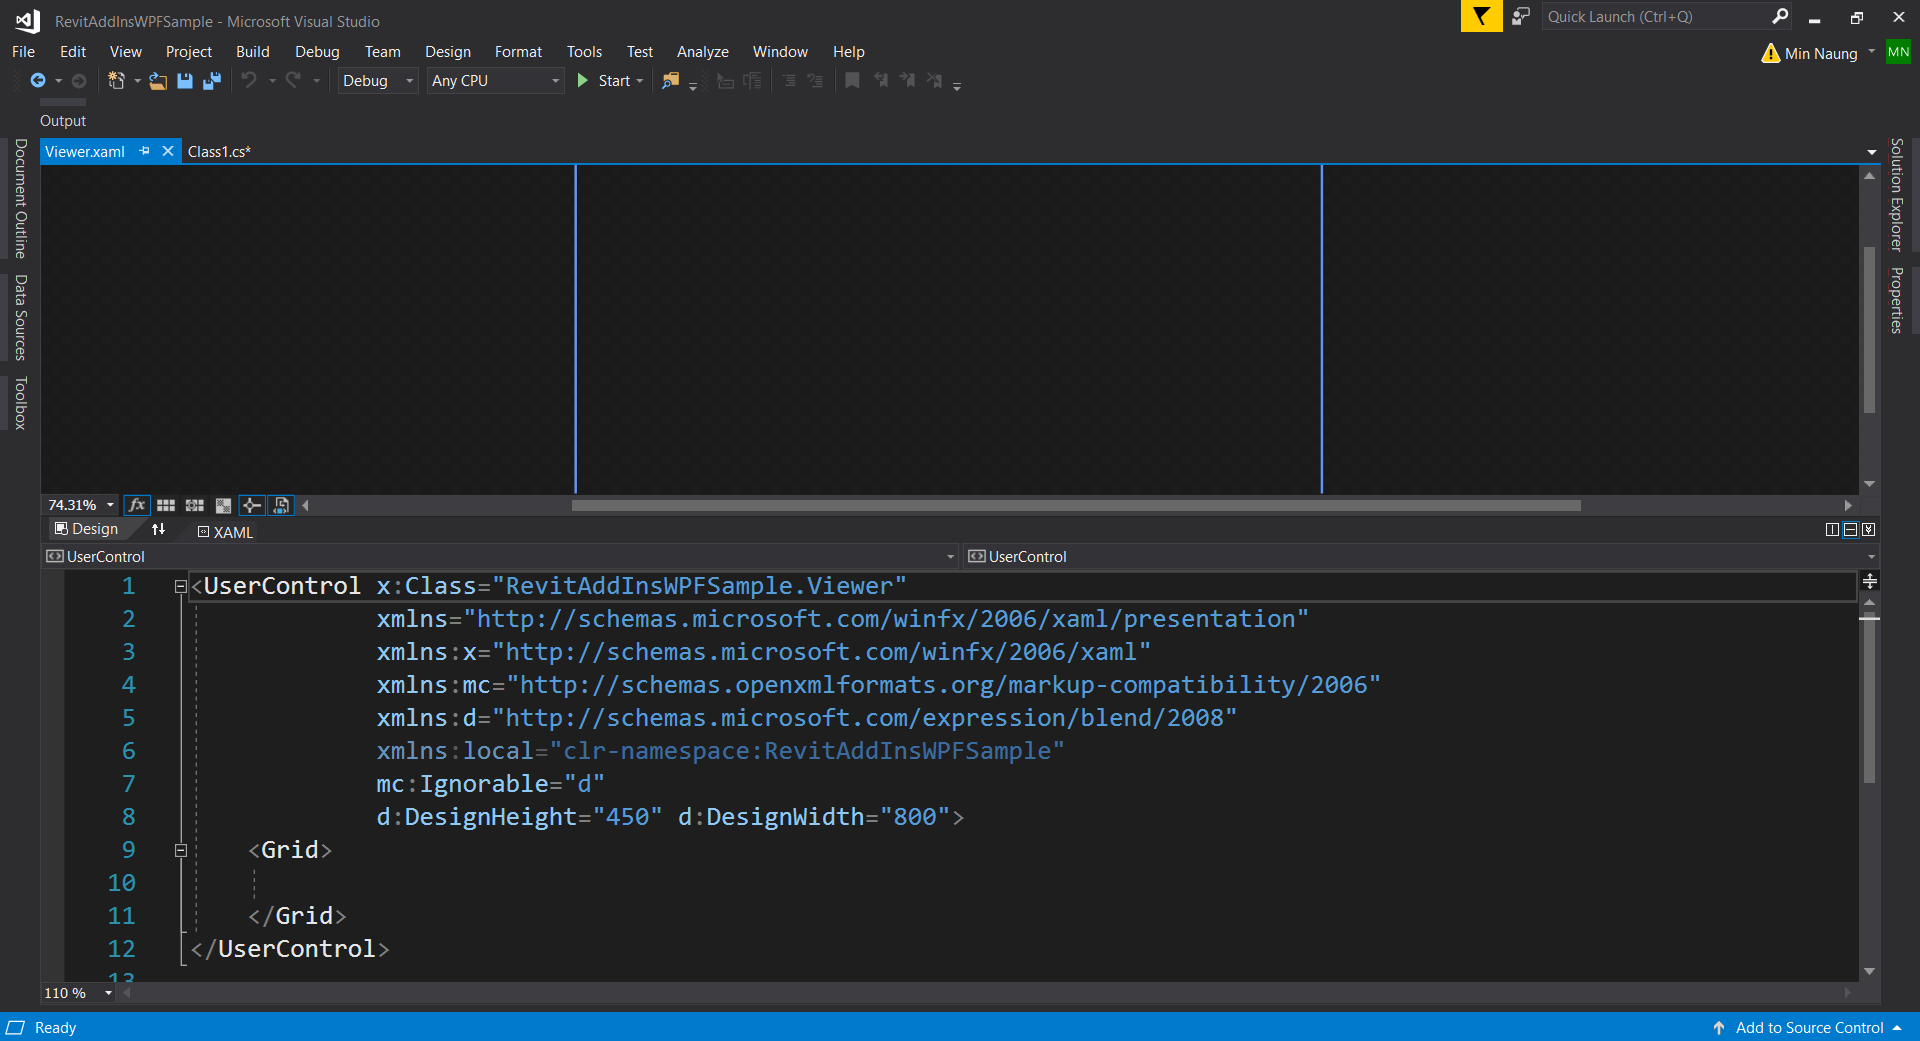
You should be seeing a big black blank window as shown in figure 1.8.
And change “UserControl” xaml tag to “Window” tag. (figure 1.9)

Add some Window tag properties such as Height, Width, Title, WindowStartupLocation, and ResizeMode. Finally, add a GroupBox which contains our TreeView object in the Grid tag. (figure 1.10)
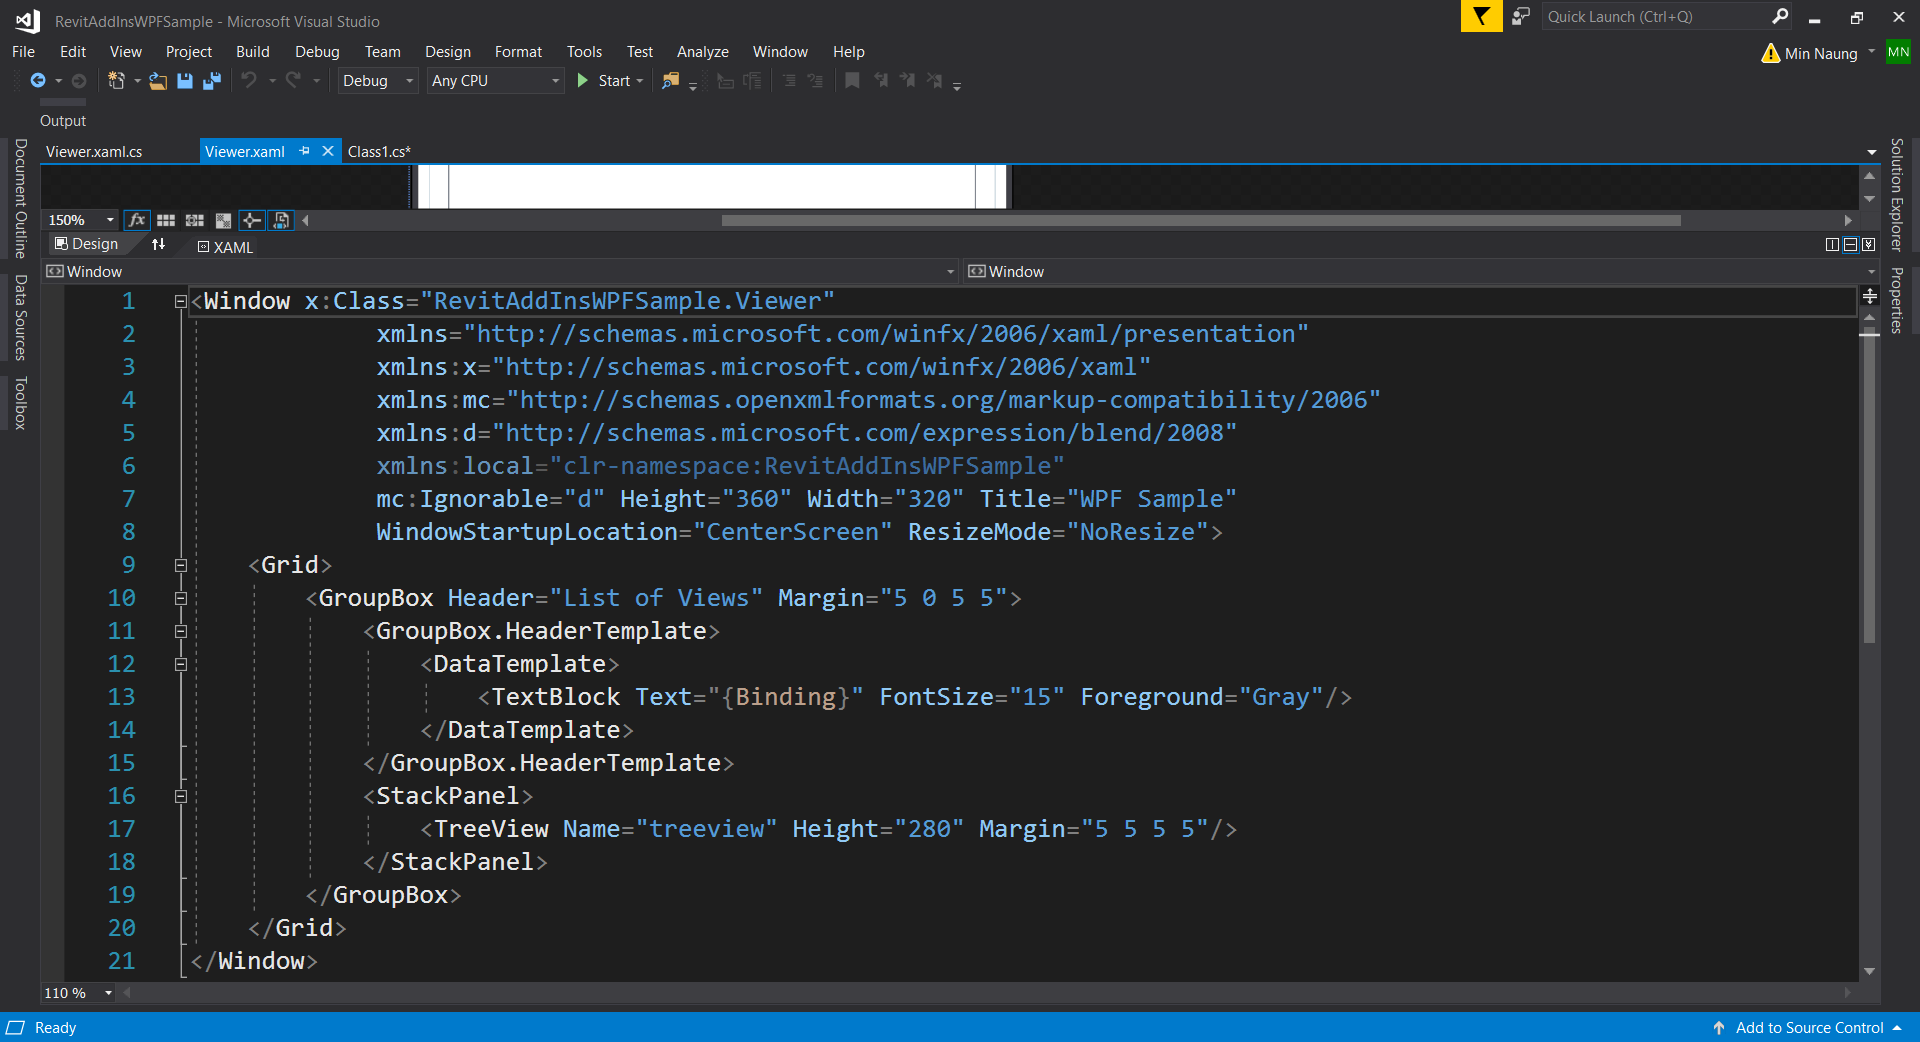
In the Grid tag, add a GroupBox and add a TreeView as per XAML code from figure1.10.
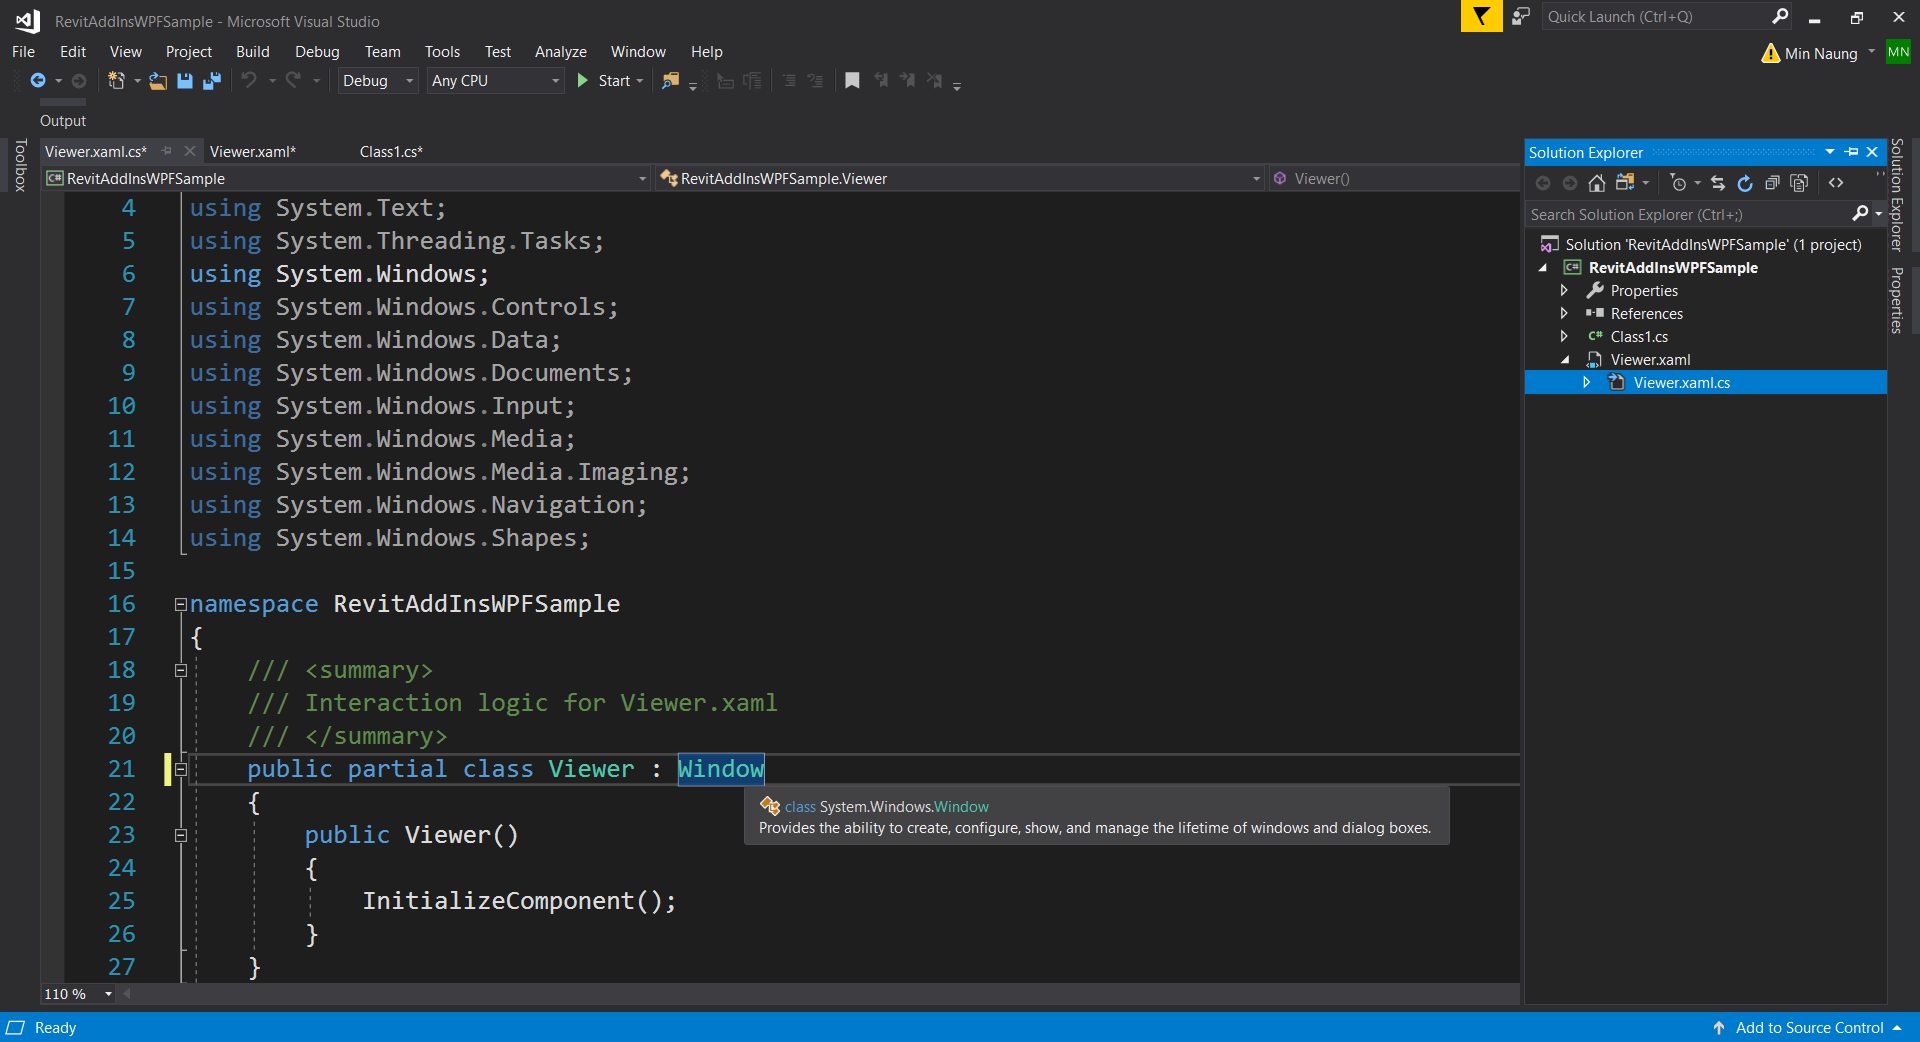
Next, go to “Viewer.xaml.cs” a partial class which located under Viewer.xaml. And change UserControl interface to Window as shown in figure 1.11.
Add one argument in our Viewer constructor and we will write a method, DisplayTreeViewItem, which collects all the views from the current Revit document and display in the TreeView. Below is the code in “Viewer.xaml.cs”.
namespace RevitAddInsWPFSample
{
    /// <summary>
    /// Interaction logic for Viewer.xaml
    /// </summary>
    public partial class Viewer : Window
    {
        // field
        public Document document;
        // constructor
        public Viewer(Document doc)
        {
            // assign value to field
            document = doc;
            InitializeComponent();
            // display view
            DisplayTreeViewItem();
        }

        public void DisplayTreeViewItem()
        {
            // viewtypename and treeviewitem dictionary
            SortedDictionary<string,TreeViewItem> ViewTypeDictionary = new SortedDictionary<string, TreeViewItem>();
            // viewtypename
            List<string> viewTypenames = new List<string>();

            // collect view type
            List<Element> elements = new FilteredElementCollector(document).OfClass(typeof(View)).ToList();

            foreach (Element element in elements)
            {
                // view
                View view = element as View;
                // view typename
                viewTypenames.Add(view.ViewType.ToString());
            }

            // create treeviewitem for viewtype
            foreach (string viewTypename in viewTypenames.Distinct().OrderBy(name => name).ToList())
            {
                // create viewtype treeviewitem
                TreeViewItem viewTypeItem = new TreeViewItem() { Header = viewTypename };
                // store in dict
                ViewTypeDictionary[viewTypename] = viewTypeItem;
                // add to treeview
                treeview.Items.Add(viewTypeItem);
            }

            foreach (Element element in elements)
            {
                // view
                View view = element as View;
                // viewname
                string viewName = view.Name;
                // view typename
                string viewTypename = view.ViewType.ToString();
                // create view treeviewitem
                TreeViewItem viewItem = new TreeViewItem() { Header = viewName };
                // view item add to view type
                ViewTypeDictionary[viewTypename].Items.Add(viewItem);
            }
        }
    }
}
First, we create a field to store the Document instance. In the Viewer Constructor, assign field value to the document which uses as an argument in our partial class constructor. And call our DisplayTreeViewItem method too. In this DisplayTreeViewItem first, we find all the ViewTypes from the current Revit document and create a first-level TreeViewItem.
Next, collect all the views from the current Revit document, for each view create a TreeViewItem and attached it as second-level TreeViewItem in their associate ViewType first-level TreeViewItem.
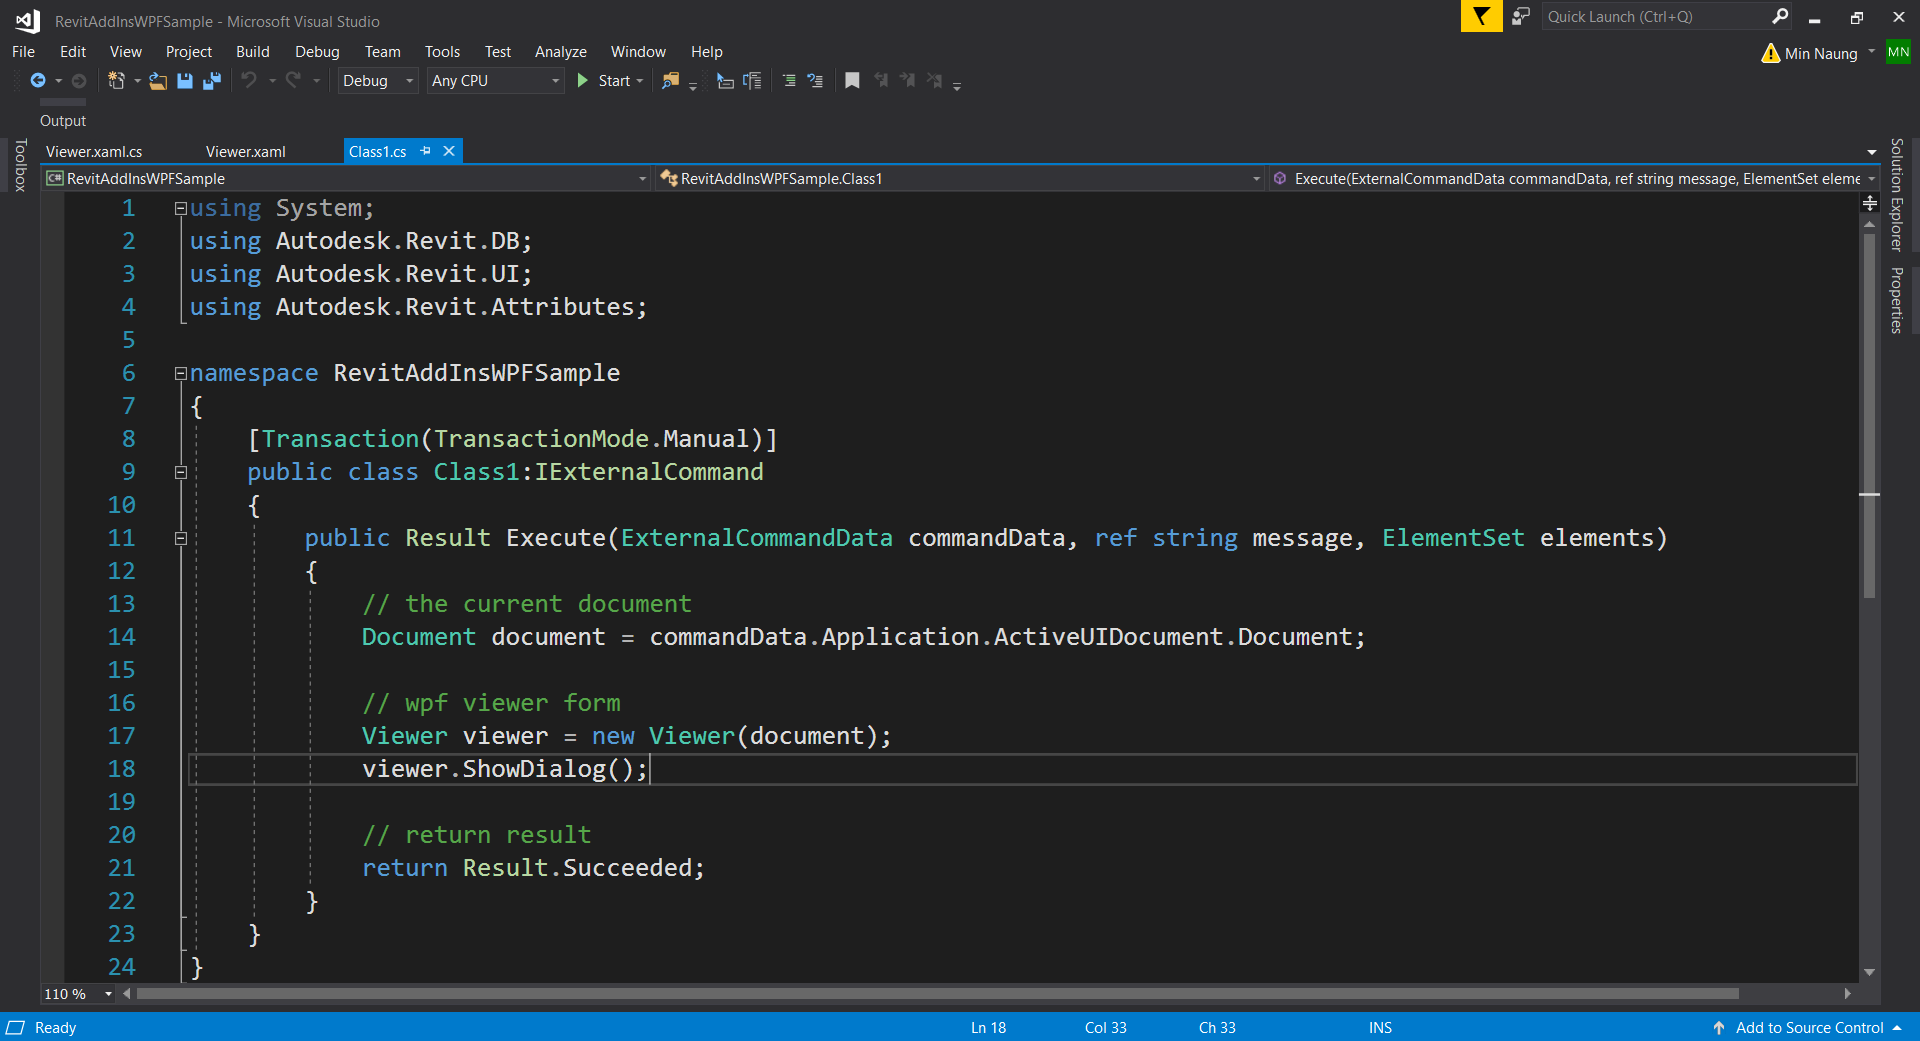
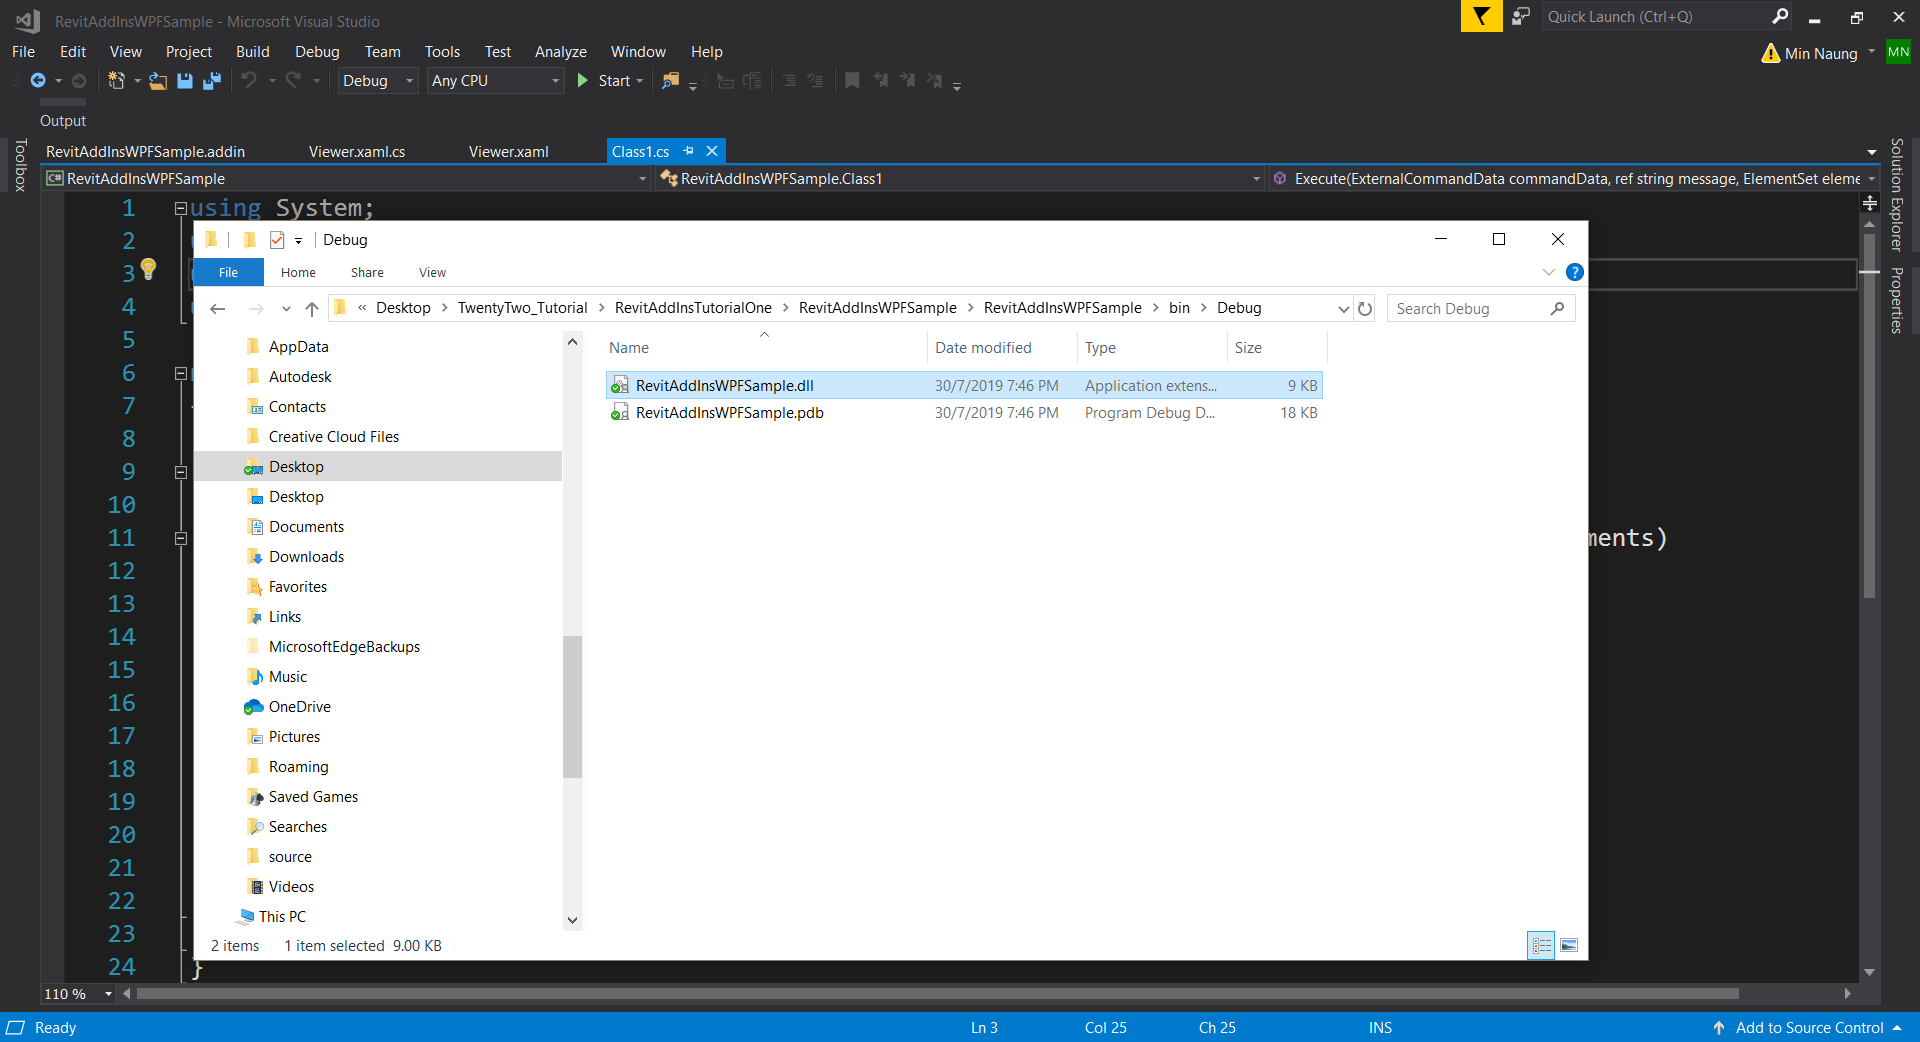
Now we have to call our WPF form from ” Class1.cs Execute method ” and build the project to get “RevitAddInsWPFSample.dll” file in ” bin/Debug/ ” folder. (figure1.12)(figure 1.13)
Note: if you want to make a transaction, you can only do in this “Execute method”. If you make inside WPF form, an error will be raised.
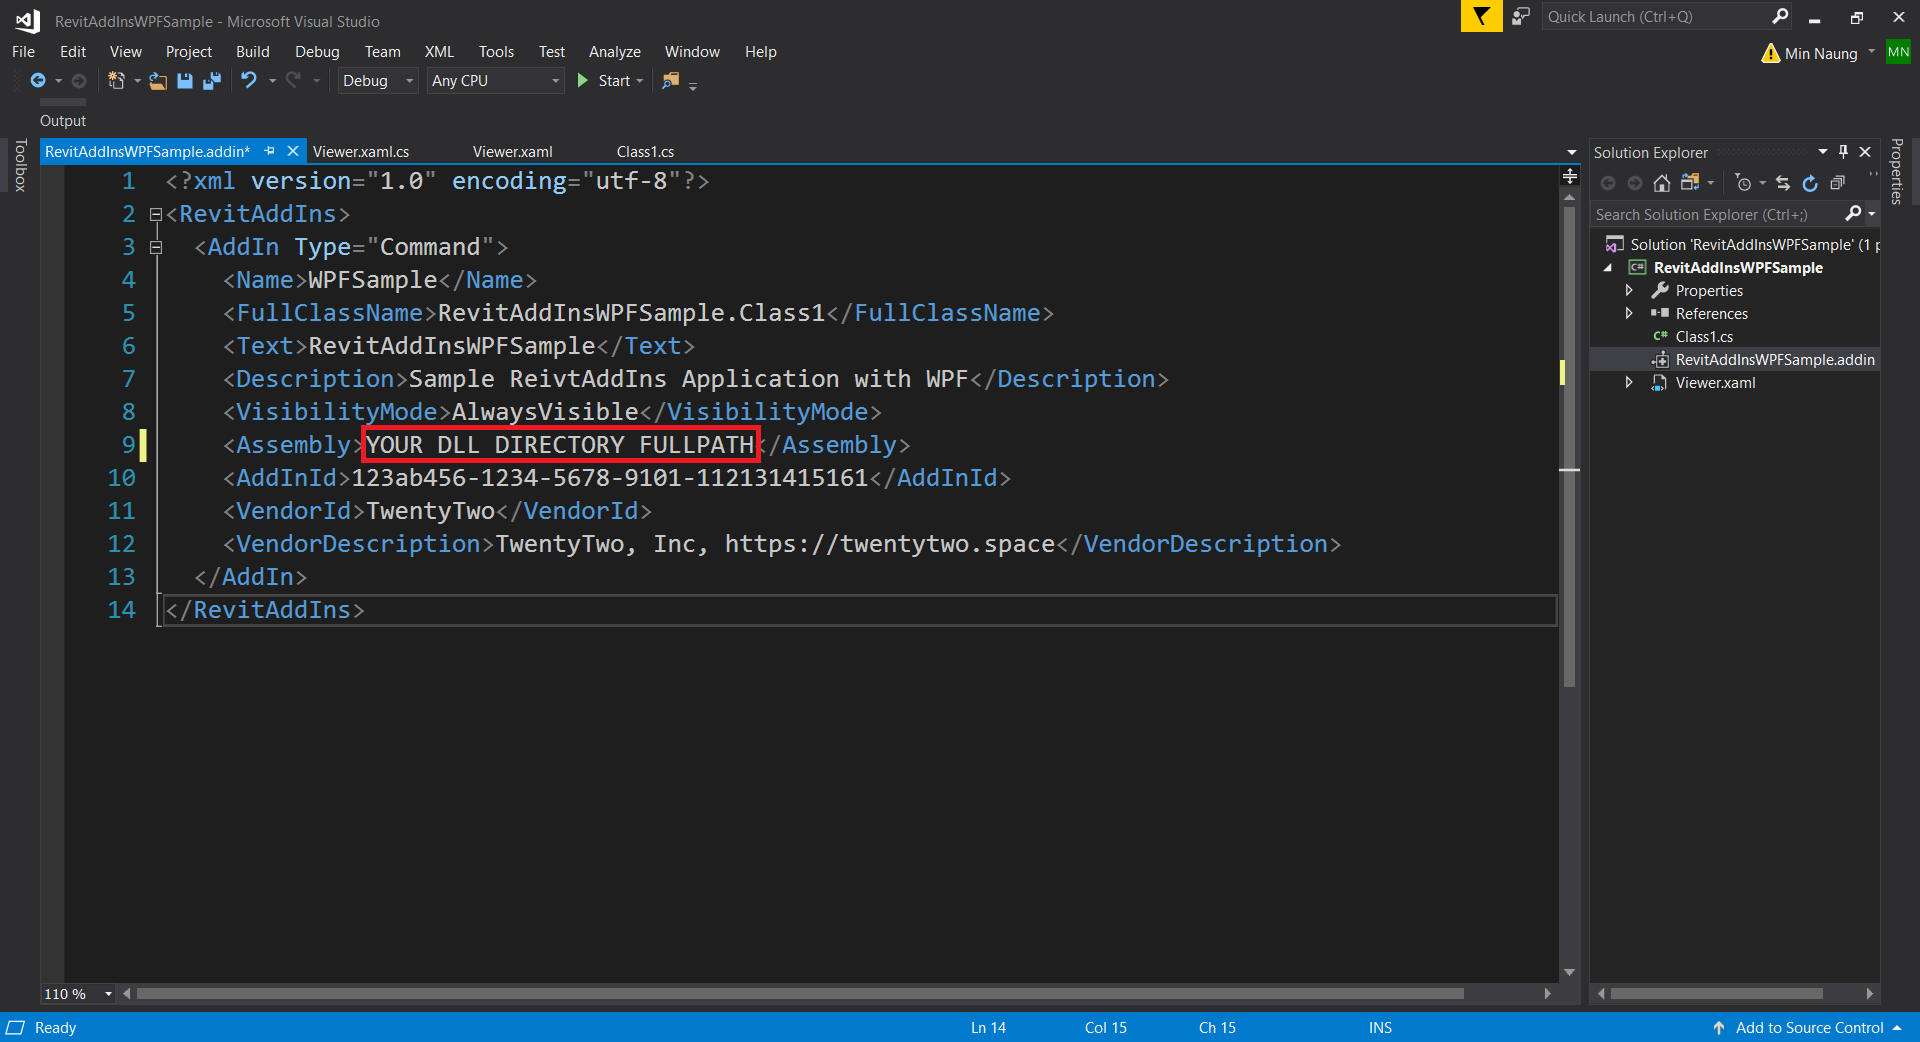
For the next step, we have to create “.addin” file which is AddIn manifest located in a specific location checked by Revit when the application starts. The manifest includes information used by Revit to load and run the plug-in.
In the Solution Explorer panel, Select and right-click > Add > New Item… (figure 1.13)

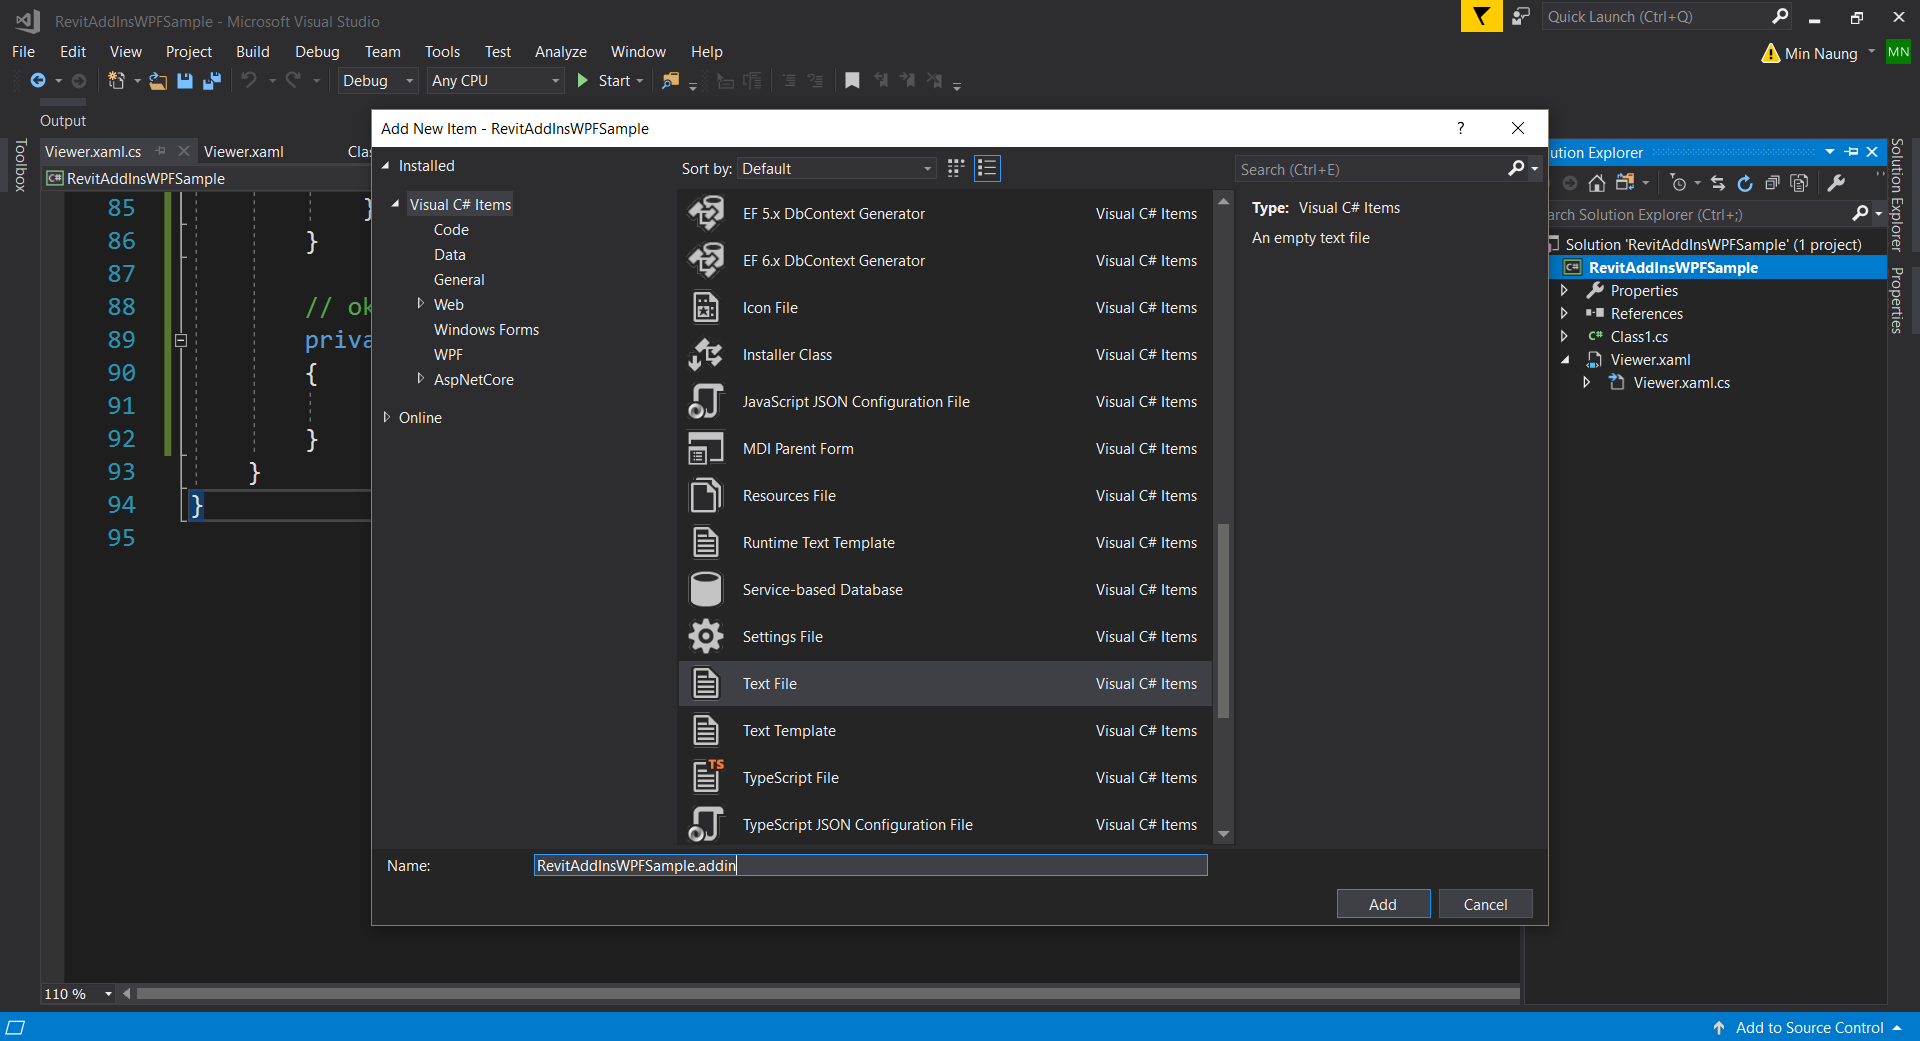
Select Text File , name it “RevitAddInsWPFSample.addin” and Add to the project. (figure 1.15)
Add Add-In informations to “RevitAddInsWPFSample.addin” file… Note: inside tag write your full path for “RevitAddInsWPFSample.dll”. (figure 1.16)
The final step is to copy “RevitAddInsWPFSample.addin” manifest file and paste it in a specific location checked by Revit when the application starts which is “AppData\Autodesk\Revit\Addins\201x” . So, select RevitAddInsWPFSample namespace and right-click > Properties and then goes to Build Events > in the Pre-build event command line, type in xcopy /Y “$(ProjectDir)RevitAddInsWPFSample.addin” “$(AppData)\Autodesk\Revit\Addins\201x” (figure 1.17).

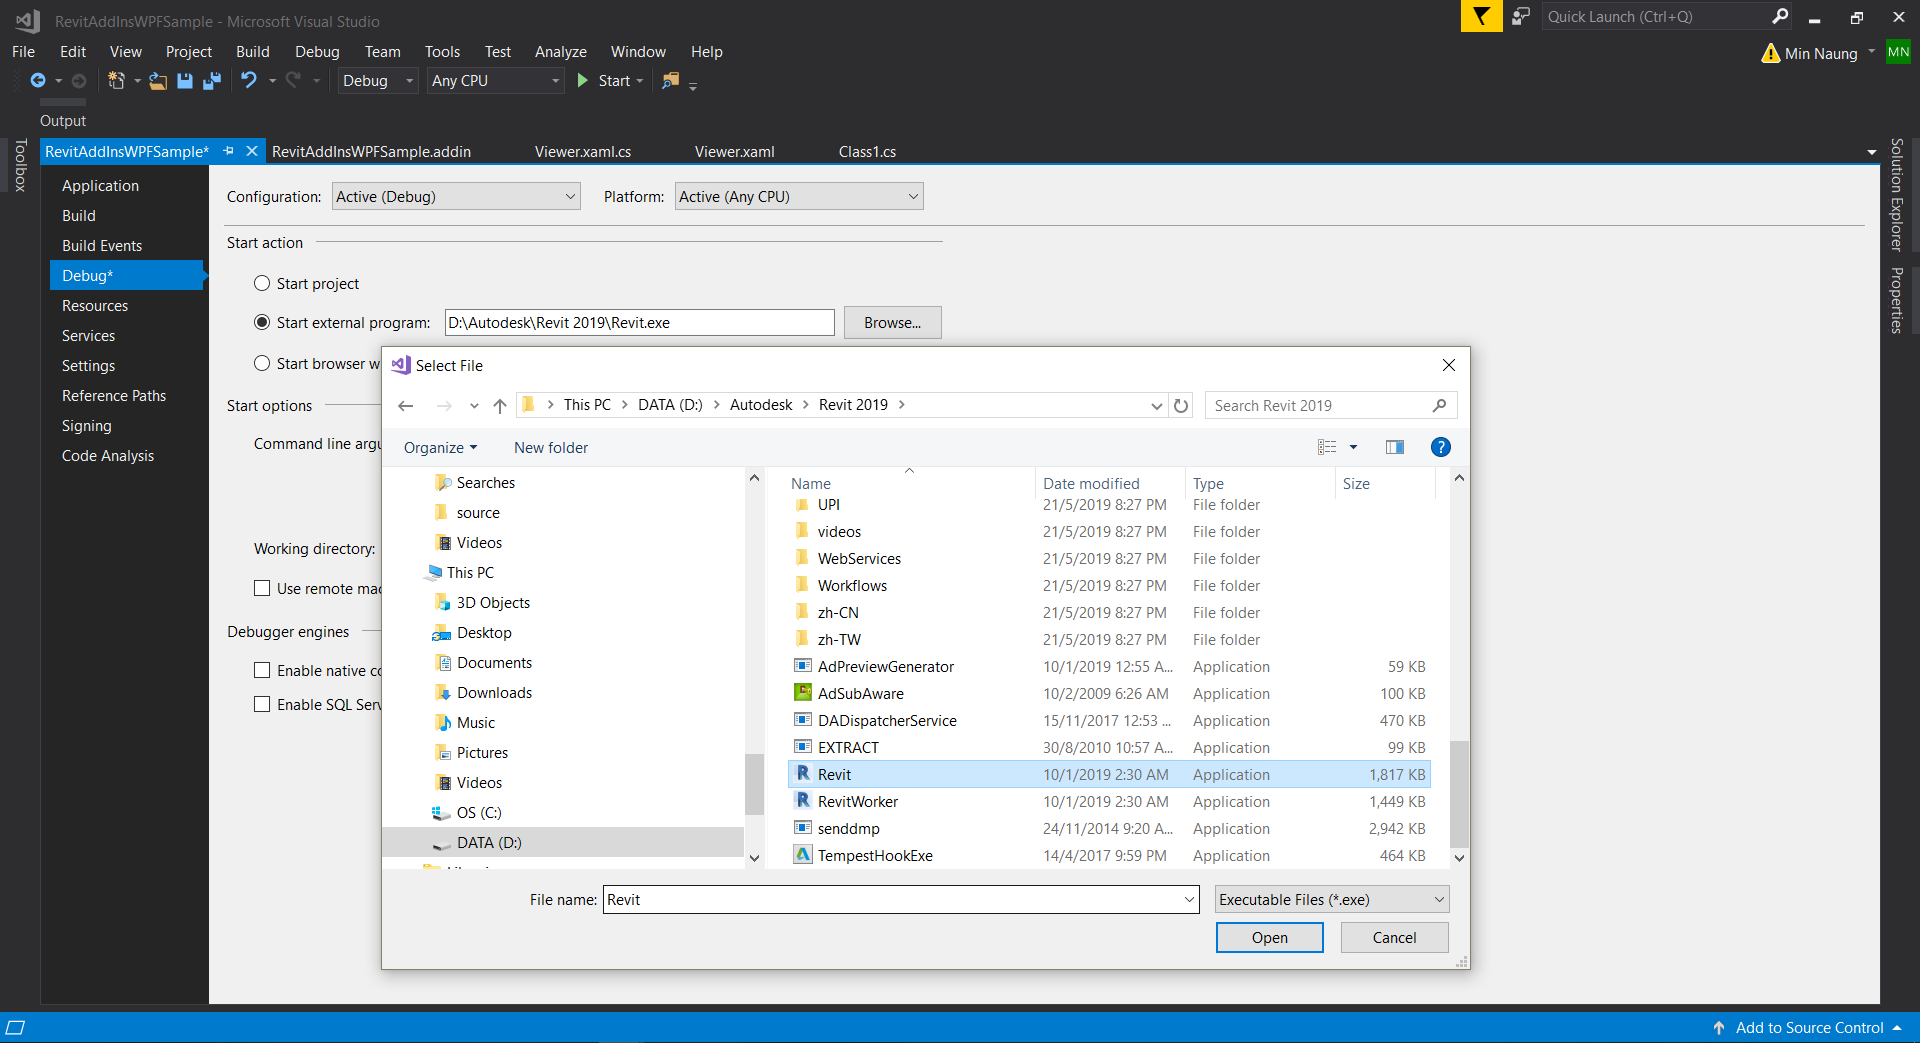
Finally, goes to Debug tab > Start external program > provide your Revit Executable file as shown in figure 1.18. This file locates inside Revit Product Installation directory (the default path is C:\Program Files\Autodesk\Revit 201x\*).
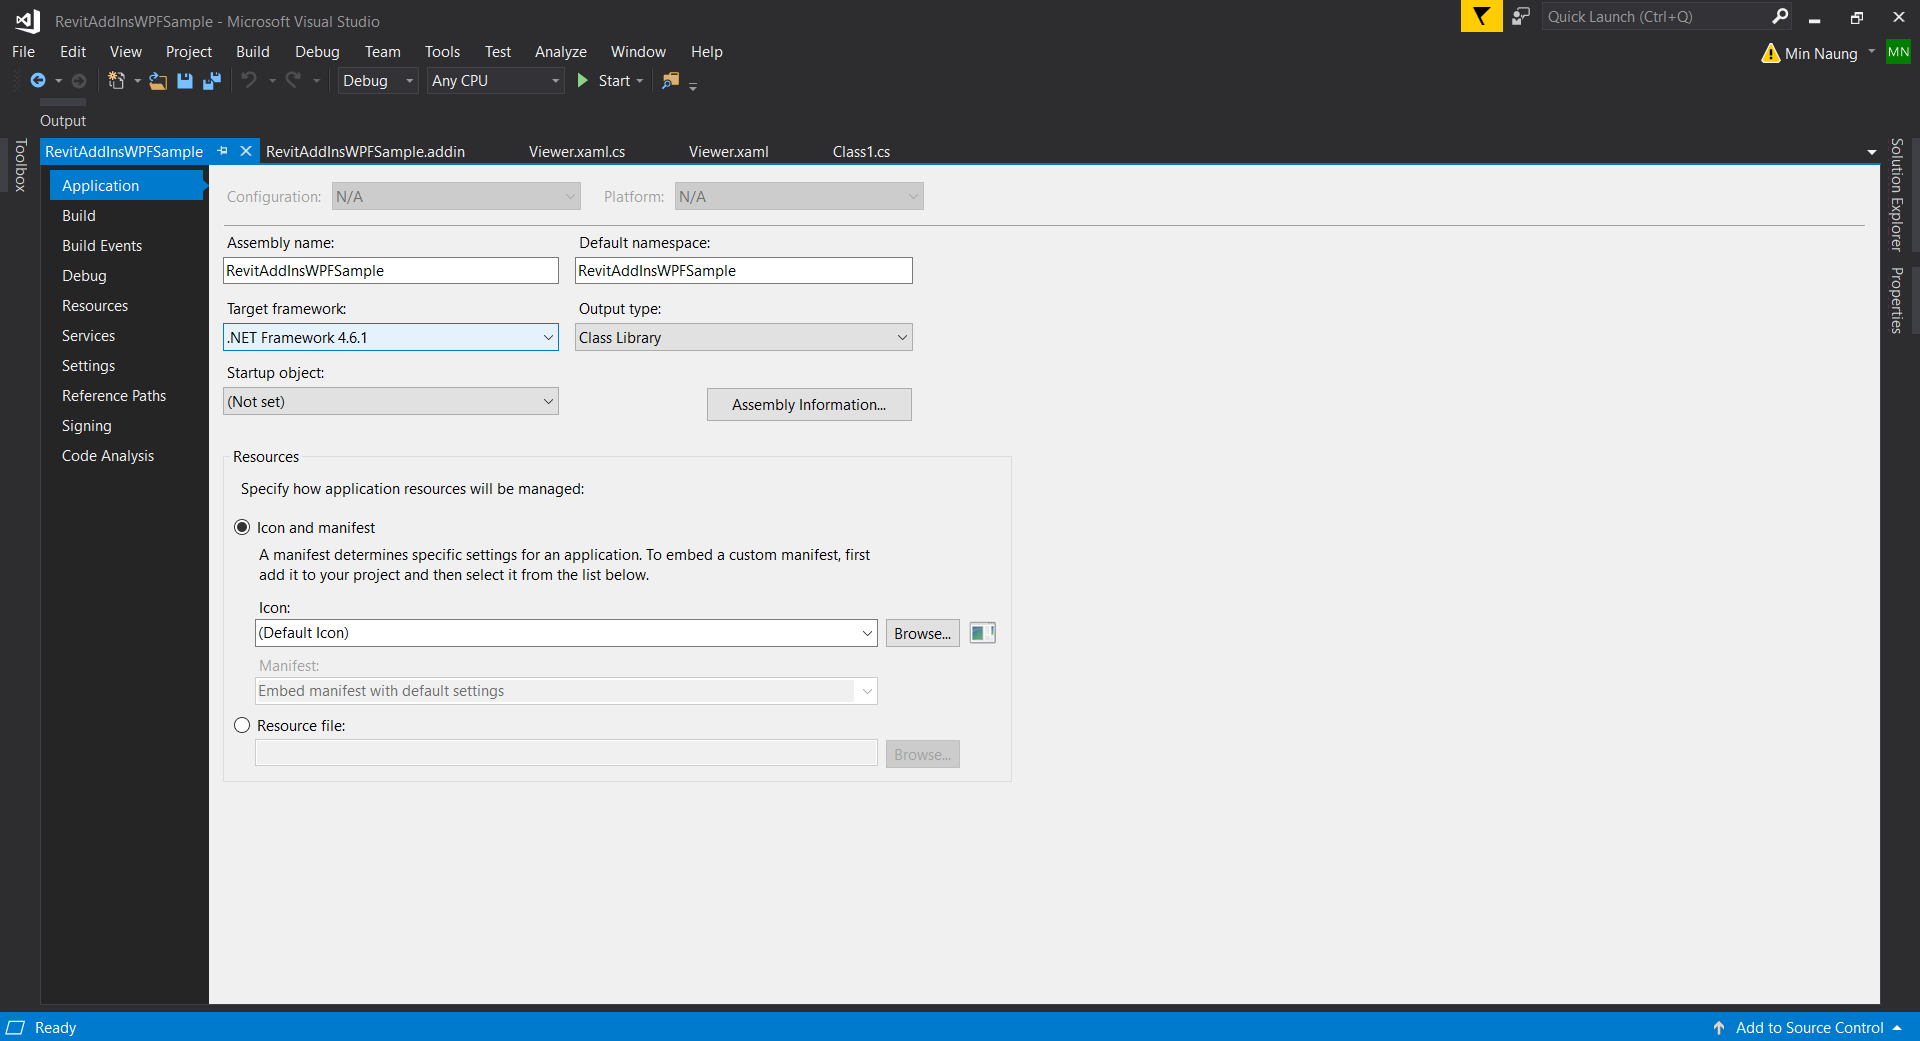
And make sure to match this AddIns project’s .Net Framework version with Revit .Net Framework version because Revit 2019 uses .Net Framework version is 4.7 and Revit 2017,2018 use .NetFramework version 4.6.1. (figure 1.19)
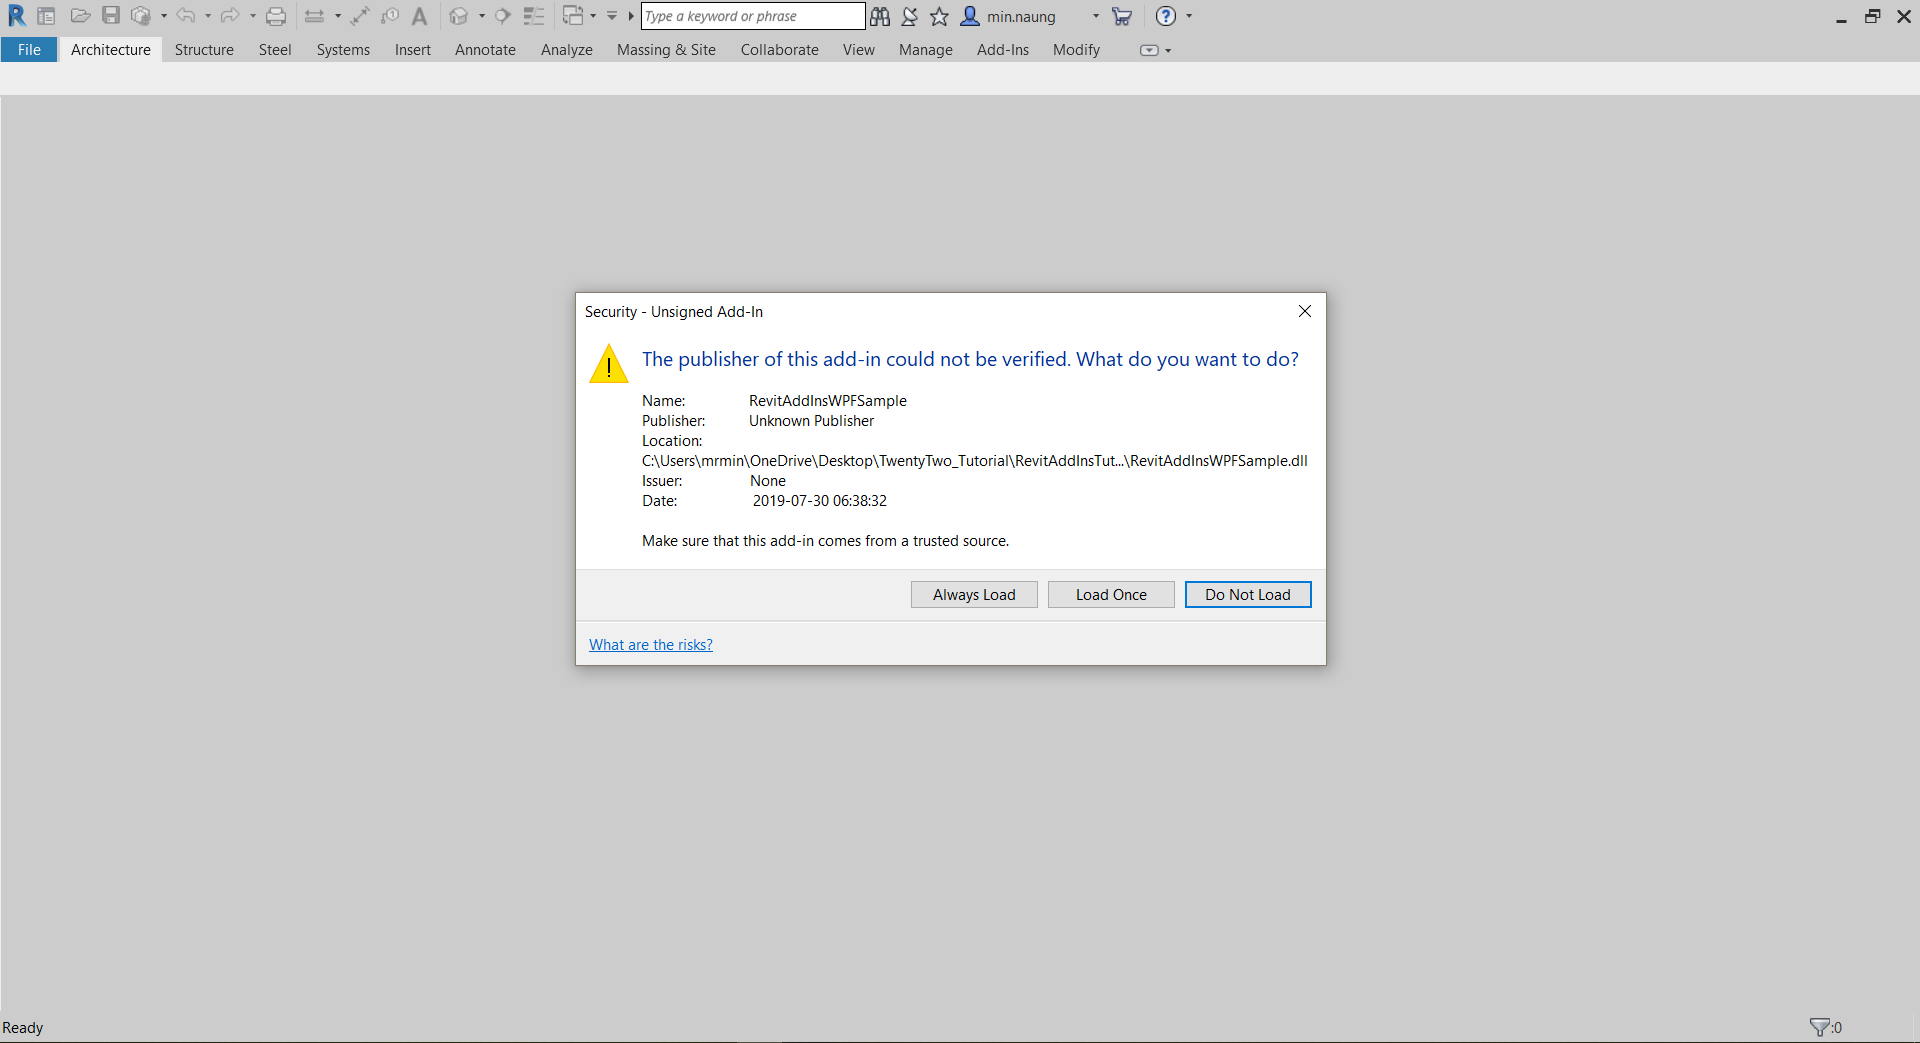
We have finished writing our Revit AddIns project and now is the time to test it out. Click on “Start” or press “F5” to launch Revit Application that we have already set up in Debug > Start external program. After Revit Application is opened, when you see this popup window from Revit, click on “Always Load” button. (figure 1.20)
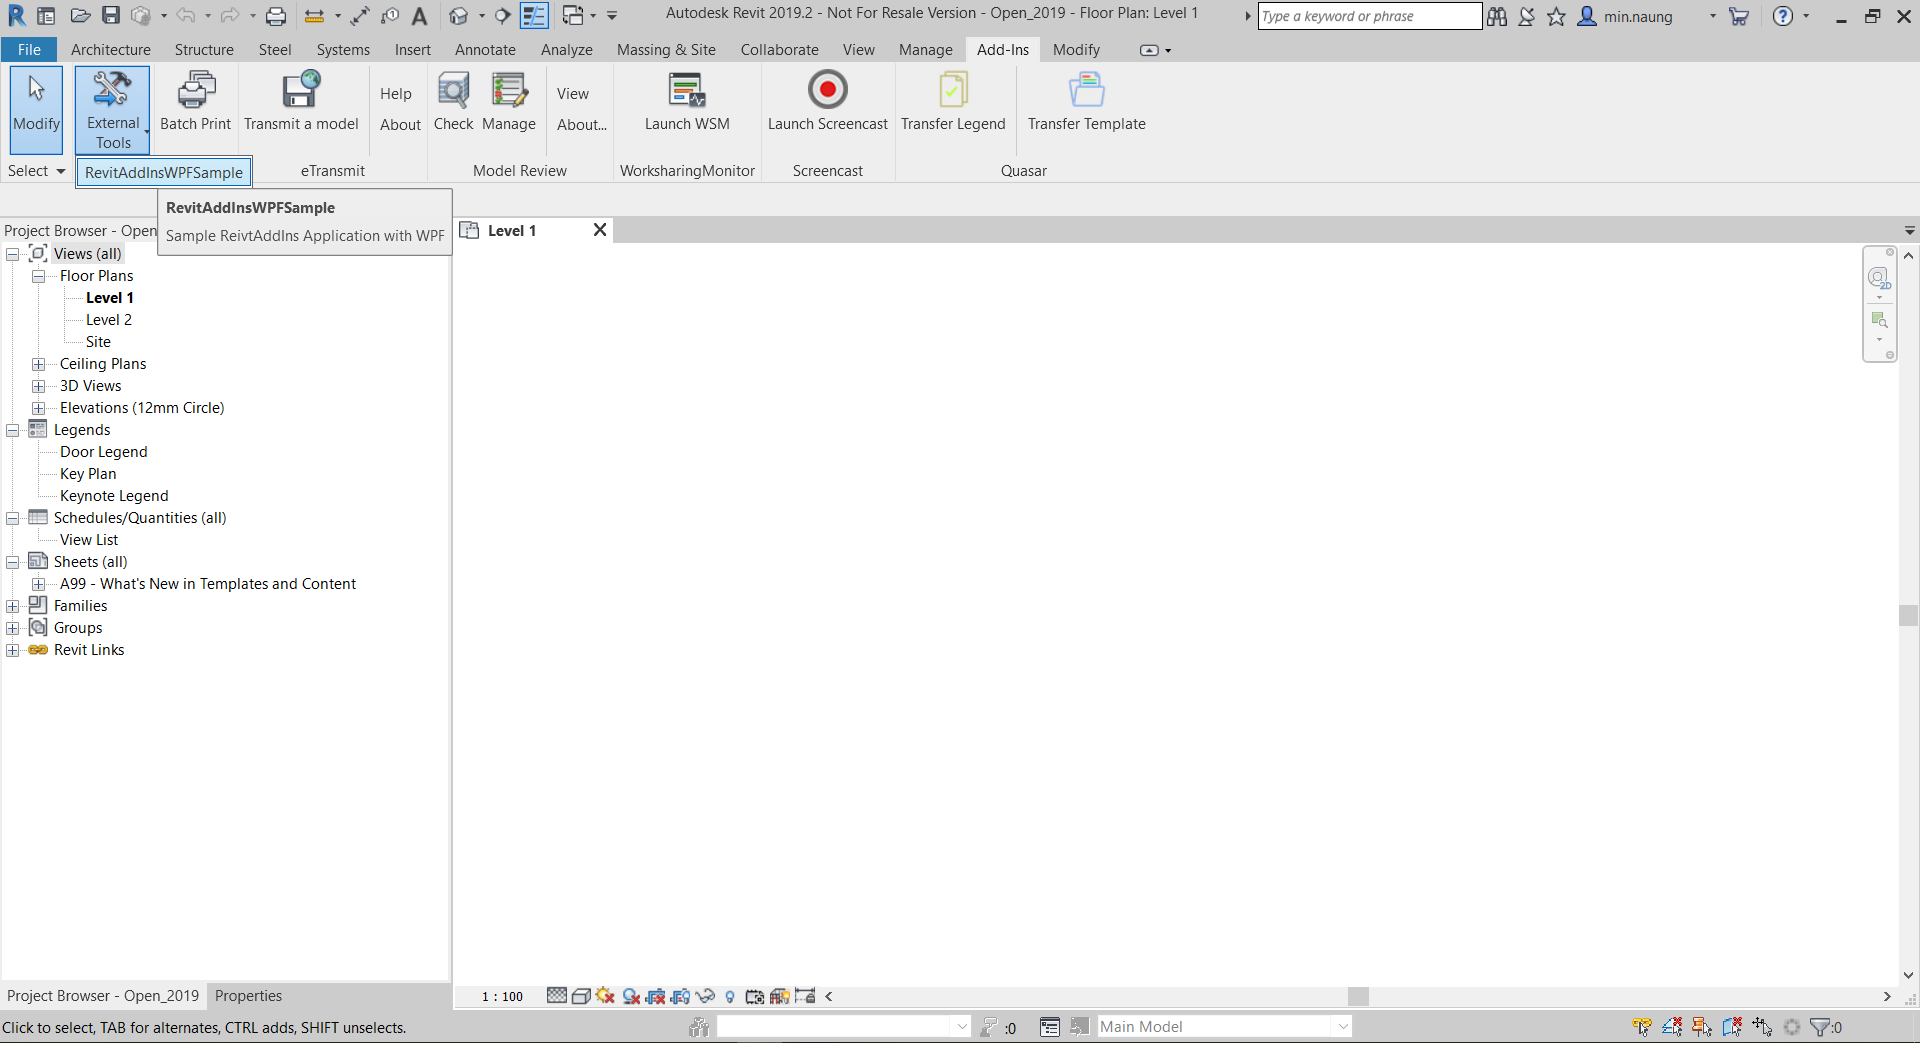
Go to the Add-Ins tab, you should be seeing our Add-Ins Command under External Tools panel. (figure 1.21)
Well, that’s all for this sample project and complete source code is here.

Revit Add-Ins Development Additional Resources :
Autodesk Revit Add-Ins Sample: https://knowledge.autodesk.com/support/revit-products/learn-explore/caas/simplecontent/content/my-first-revit-plug-overview.html
Autodesk Revit Add-Ins Documentation: https://help.autodesk.com/view/RVT/2018/ENU/?guid=Revit_API_Revit_API_Developers_Guide_Introduction_Add_In_Integration_html

Thank you for this!
LikeLiked by 1 person
What will be the process in adding a panel instead of the custom app located in External tools?
Thanks
LikeLike
Wait for the Dockable Panel post instead, working on it…
LikeLike
Check it out : https://twentytwo.space/2020/02/23/revit-addins-dockable-windows/
LikeLike
Cree una clase independiente,pero me devuelve cero,Porque?
I created an independent class, but it returns zero, why?
static public SortedDictionary RellenarTreeview(Document doc,TreeView tree)
{
// viewtypename and treeviewitem dictionary
SortedDictionary ViewTypeDictionary = new SortedDictionary();
…
…
….
foreach (Element elem in elements)
{
// view
View view = elem as View;
// viewname
string viewName = view.Name;
// view typename
string viewTypename = view.ViewType.ToString();
// create view treeviewitem
TreeViewItem viewItem = new TreeViewItem() { Header = viewName };
// view item add to view type
ViewTypeDictionary[viewTypename].Items.Add(viewItem);
}
return ViewTypeDictionary;
ViewTypeDictionary return 0
}
LikeLike
Hola Reynaldo, you have to remove your last line ” ViewTypeDictionary return 0 “. By the way, this line doesn’t make any sense to your method also.
LikeLike
Gracias por tu respuesta tan rápida ,ya lo solucione,ahora ,como puedo adicionar una imagen ?
Thanks for your quick answer, I solved it, now, how can I add an image?
LikeLike
I’m trying to do something very similar in a form in a macro, but having issues:
List vftlist = new FilteredElementCollector(doc).OfClass(typeof(ViewFamilyType)).Cast().Where(a =>a.ViewFamily == ViewFamily.StructuralPlan).ToList();
foreach (ViewFamilyType vft in vftlist)
{
string s = vft.Name;
string realviewName = “”;
List elements = new FilteredElementCollector(doc).OfCategory(BuiltInCategory.OST_Views)
.Where(c => c.get_Parameter(BuiltInParameter.ELEM_TYPE_PARAM).AsValueString().Equals(s)).ToList();
foreach (Element v in elements)
{
realviewName = v.Name;
TreeNode viewtypeTN = new TreeNode();
viewtypeTN = testingTV.Nodes.Add(s);
TreeNode viewnamemnode = new TreeNode();
viewnamemnode = viewtypeTN.Nodes.Add(realviewName);
}
}
I know this creates the tree node for each instance of view by its view type. If I comment out the viewnamenode and pull out the treenode to the outside, I get all the types I want, but adding the views to their respective type is creating an issue, do I have to add something else? a List and then a string array? Any help would be appreciated.
LikeLike
I figured that top part out. so now that can select these nodes, I’m getting tripped up in bringing those selected nodes as strings into my main code to do something with them. The TreeView.SelectedNode seems to be a little different than a List or ComboBox where you can declare a public string and get the selecteditem.tostring.
LikeLike
Hi D, can you try text value;
TreeNode tNode = TreeView.SelectedNode;
string text = tNode.Text;
LikeLike
can you please make a tutorial on how to create an external event using WPF?
LikeLike
Hi Luis, yes, i have a plan to make that one too.
LikeLike
Hello, I am trying to create an external event, with MVVM, where would I place the event, in the ViewModel?
LikeLike
Yes, you can create ExternalEvent & EventHandler in ViewModel.
LikeLike
Thanks for your answer, I would like to practice it with the same example (REVIT ADD-INS WITH WPF), any ideas, what should I put in the Model?
LikeLike
Hello, I have a small question. can the WPF be in a different project in the visual studio solution? or it has to be in the same project as all the revit api classes? If both are possible which one is recommended?
LikeLike